Tutorial: How to Blur Images with AVCLabs Video Blur AI
AVCLabs Video Blur AI now supports image blur, allowing you to easily protect sensitive information in photos. With AI-powered detection, you can automatically blur faces, license plates, backgrounds, or specific areas in images while keeping full control over the blur effect.
Supported Format: JPG, JPEG, PNG, WEBP, GIF, BMP, TIFF, HEIC, HEIF, HIF, JXL, JP2, J2K, DNG, CR2, CR3, NEF, ARW, RAF, ORF, RW2, PEF, and SRW
Add Image
Click the Import Area or drag and drop an image file into it to import your image.
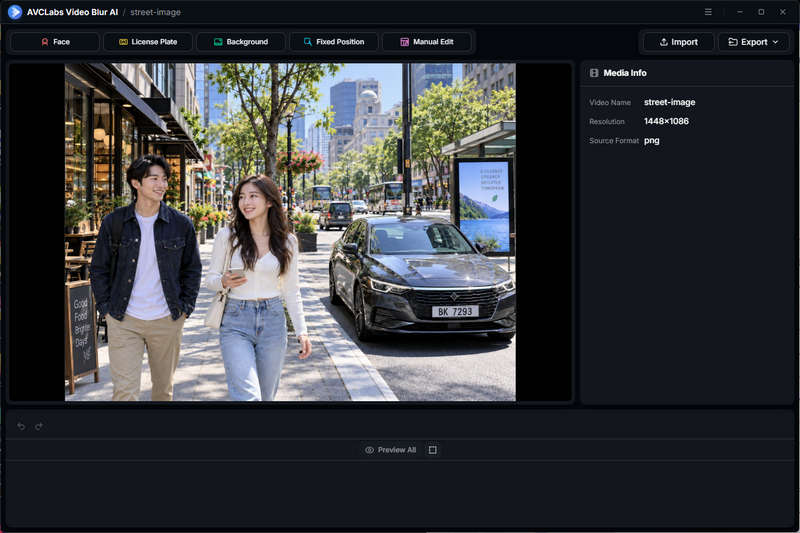
Select Blur Feature and Adjust Settings
Select the desired blur feature from the top menu to start editing your image.
You can choose from multiple AI-powered blur options, including Face, License Plate, Background, Fixed Position, and Manual Edit.
Face Blur
Select the Face feature to start a face blur task.
AVCLabs Video Blur AI will automatically detect all faces in the imported image. You can view the detected faces under All Faces, or switch to Custom Selection to select specific faces that you want to blur.
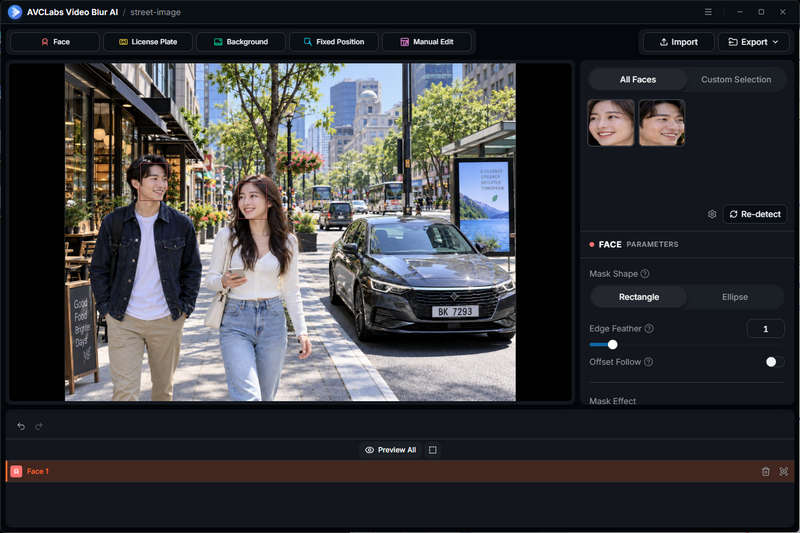
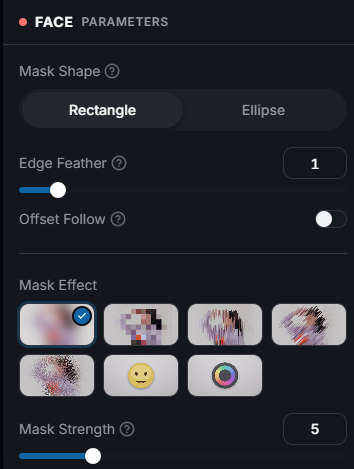
Adjust the settings from the Face Parameters panel to customize the blur effect.
License Plate Blur
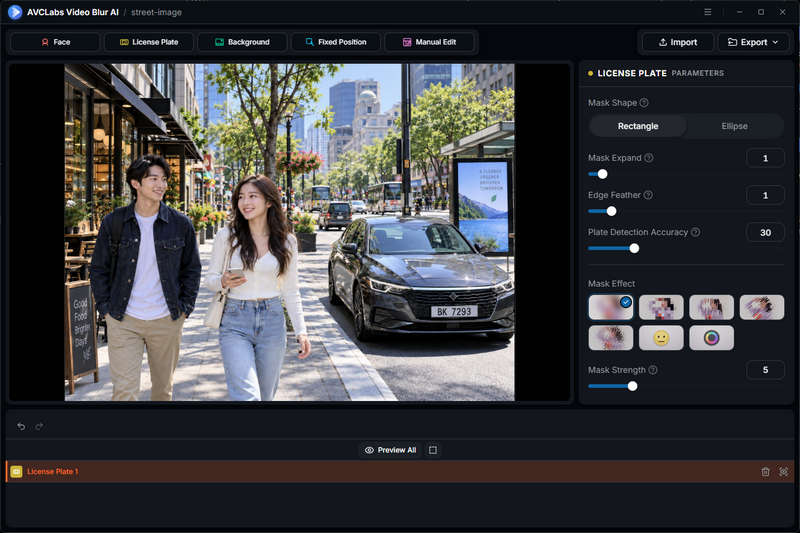
Choose the License Plate option from the top menu to activate the license plate detection feature.
Adjust Mask Shape, Mask Expand, and Edge Feather to control the coverage and smoothness of the blur area. Use Plate Detection Accuracy to optimize the detection result, and customize the appearance with different Mask Effects and Mask Strength settings.
Background Blur
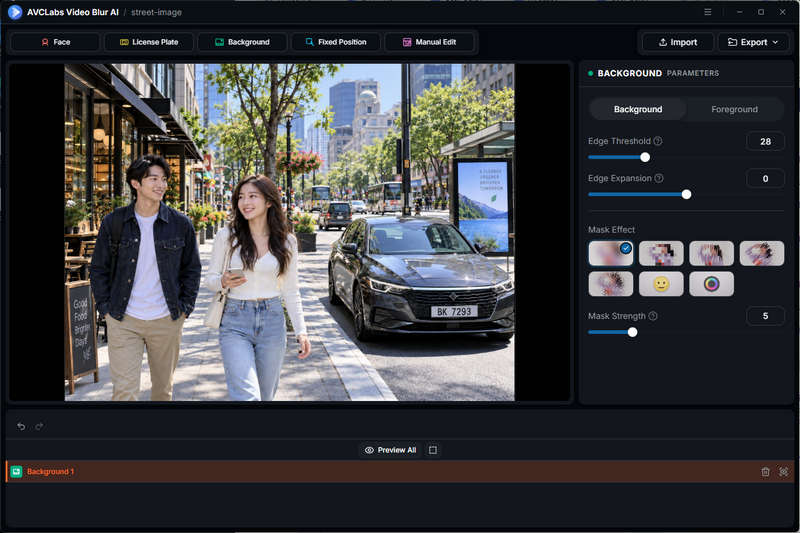
Select the Background option from the top menu to activate the background blur feature.
Adjust Edge Threshold and Edge Expansion to refine the separation between the foreground subject and the background. You can also choose different Mask Effects and adjust Mask Strength to control the appearance and intensity of the blur effect.
Fixed Position Blur
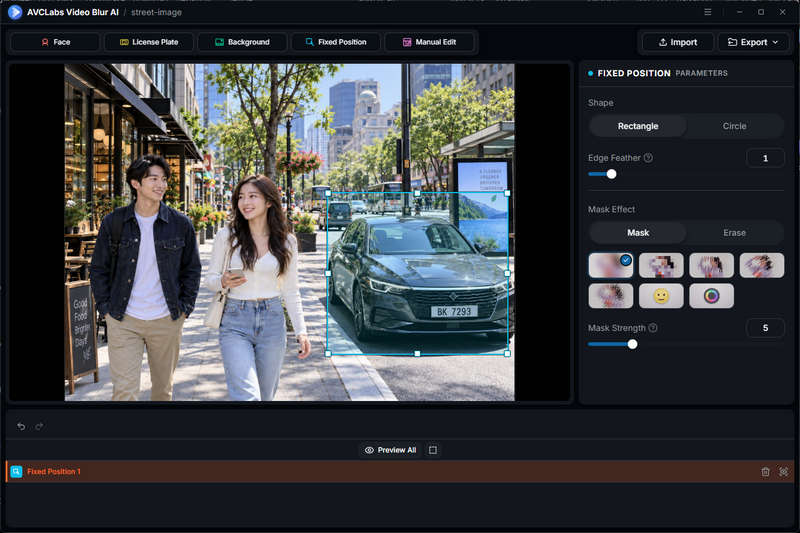
Select the Fixed Position option from the top menu to start a fixed area blur task.
After selecting the target area, adjust the settings to customize the effect. Choose the mask shape between Rectangle and Circle, and adjust Edge Feather to create smoother transitions around the selected area. You can select different Mask Effects, adjust Mask Strength, or switch to Erase mode to remove the selected area instead of applying a blur effect.
Preview Blur Effects
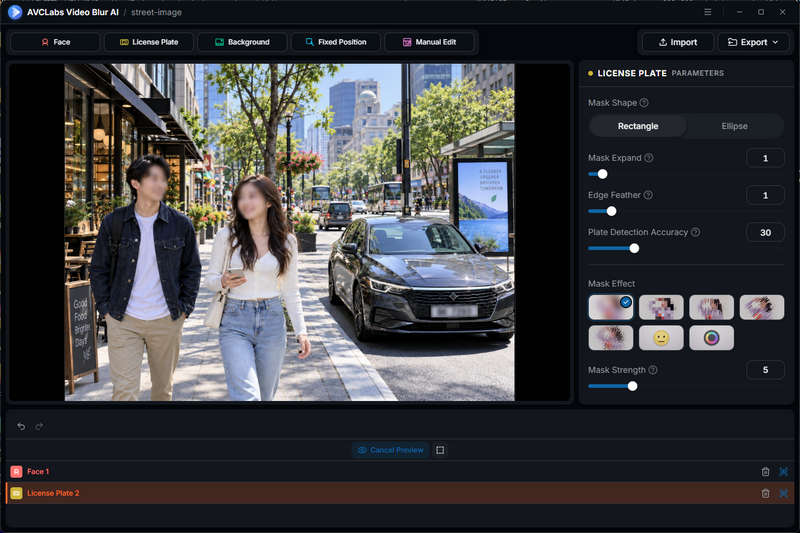
Click Preview All to preview the applied blur effects from all active tasks at the same time.
If multiple blur tasks are added, you can use the eye icon next to each task in the timeline to enable or disable the preview of a specific track.
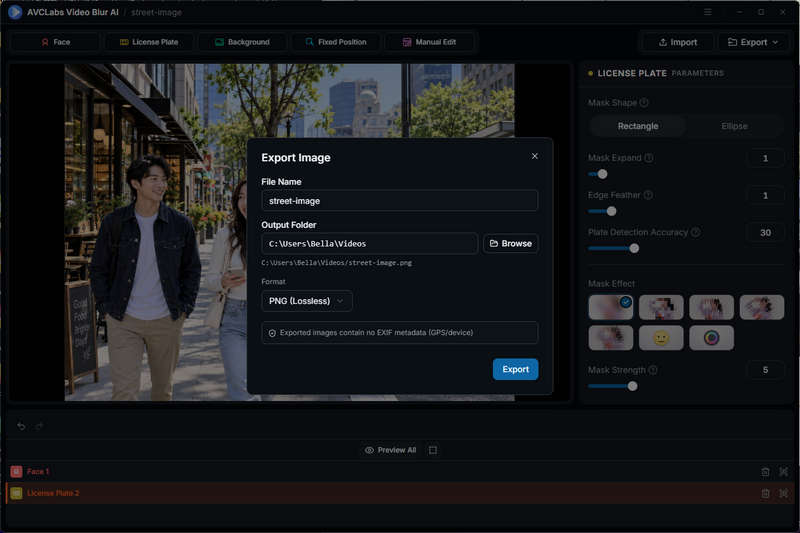
Export the Image
Click the Export button in the top-right corner.
Set the file name, output folder, and format (JPEG or PNG) according to your needs. Then click Export to save the processed image.