Tutorial: How to Blur Objects with AI Keyword Detection in AVCLabs Video Blur AI
AVCLabs Video Blur AI provides an intelligent keyword-based blur feature that makes it easy to locate and blur specific objects in videos. By entering a target keyword, the AI can automatically detect matching objects, helping you quickly apply blur effects without manually selecting each area.
Import Video
Drag and drop a video into the Drag-and-Drop Area, or click it to browse and import a video file.
Select Keyword Feature
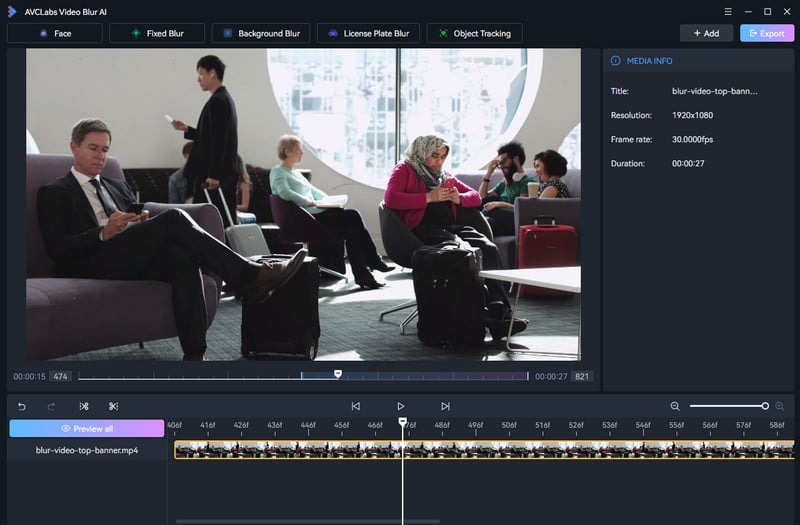
Select the Keyword feature at the top of the program to start an AI keyword detection blur task.
Enter Keywords and Detect Objects
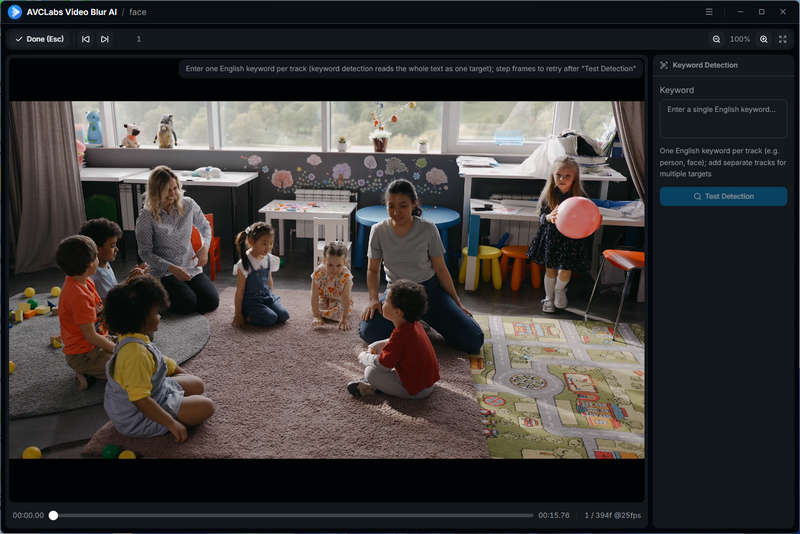
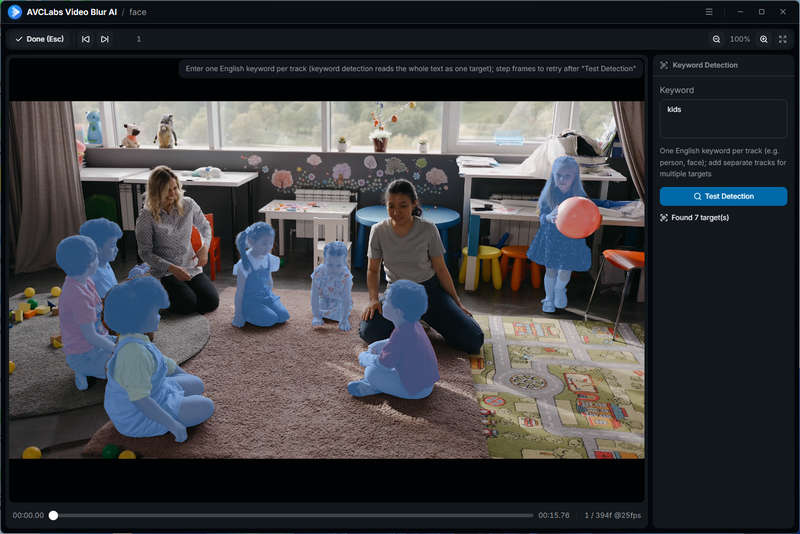
Enter an English keyword in the Keyword box to define the target you want to blur. Then click Test Detection to start AI detection. After the analysis is complete, the detected objects will be highlighted in the preview window.
Note: Keyword Detection supports one English keyword per track. To detect multiple targets, add separate tracks with different keywords.
Adjust Blur Effect Settings
Change the Mask Expand, Edge Feather, and Mask Strength to achieve the desired result.
You can choose from five different blur effects: Blur, Mosaic, Linear Blur, Radial Blur, and Pixel Blur. Alternatively, you can apply a Solid Color or upload a custom image from your computer as the effect.
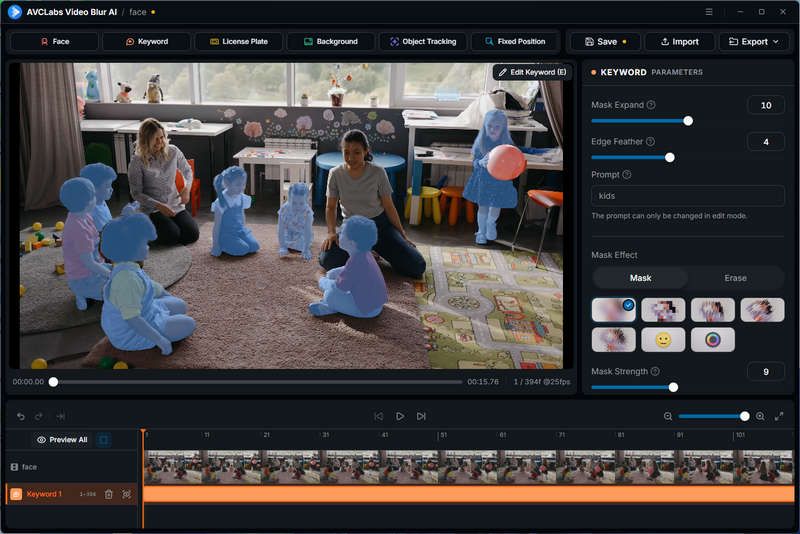
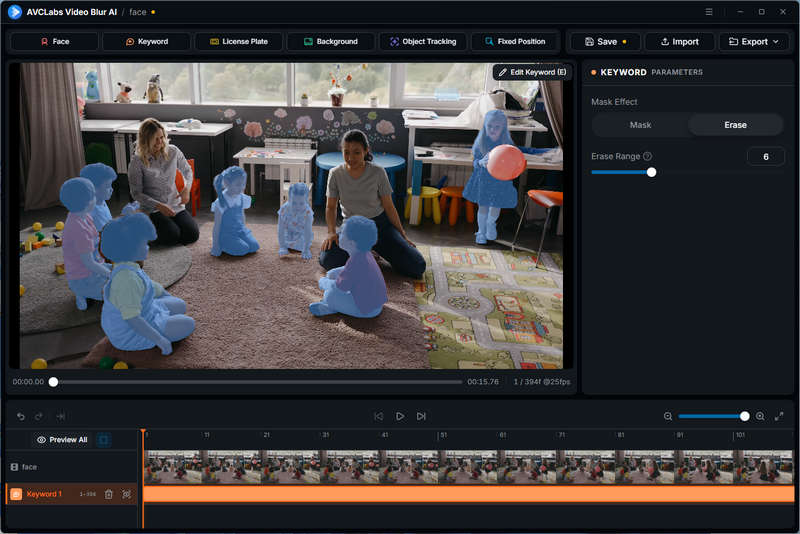
You can also switch to Erase mode to remove the detected areas from the video.
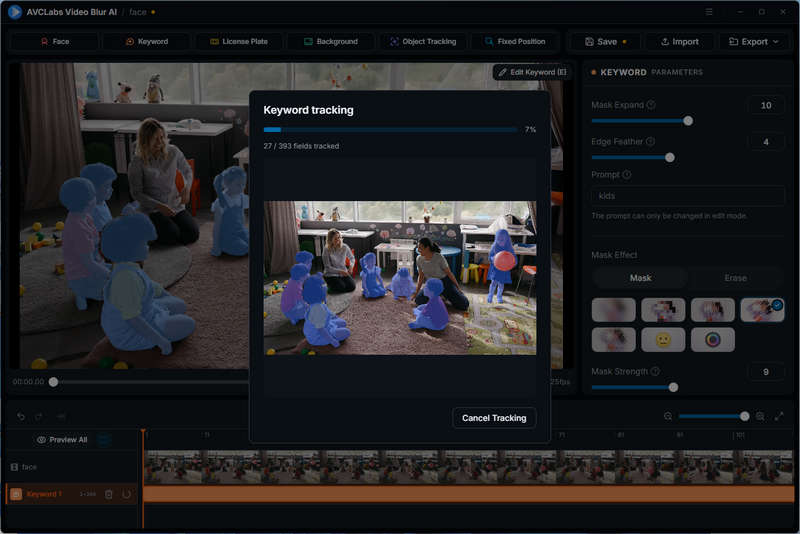
Preview the Tracking Result
Click Preview All to start AI tracking. The program will analyze the video and apply the selected effect to the detected objects across the frames.
Export the Video
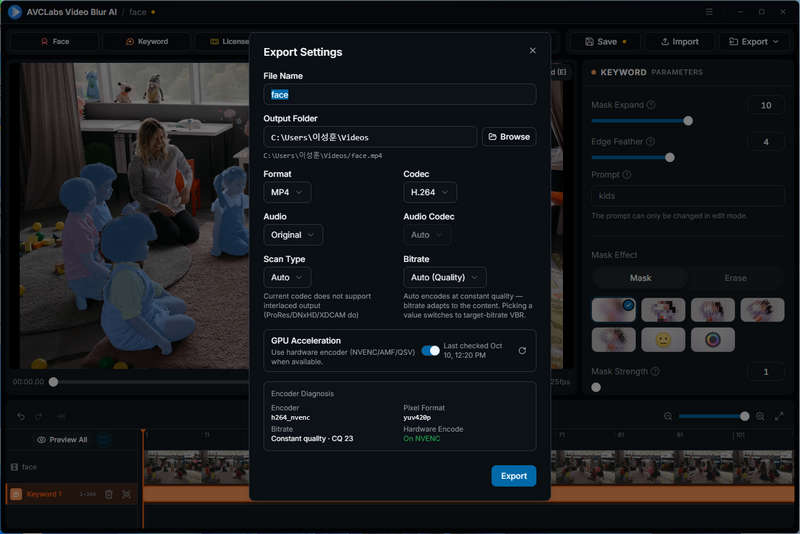
Click the Export button in the top-right corner and adjust the output settings, such as file name, save location, format, codec, and other options.