[3 Ways] How to Blur A Screen Recording?
Screen recording has become an important tool for a variety of purposes, including creating tutorials, demonstrating software, and capturing online meetings. However, you may want to blur your screen recording to hide some sensitive or personal information such as passwords, email addresses, phone numbers, etc. This is where the ability to blur specific parts of your screen recording becomes crucial. This article will guide you through various methods of blurring screen recordings, including dedicated screen recording software, AI automatic blurring, and manual editing techniques.
Part 1: Why Blur A Screen Recording?
There are several reasons why you might want to blur your screen recording. Sometimes when we record the screen, it is inevitable that some sensitive information including passwords, personal data, financial information, etc. will be recorded. Blurring helps us stay anonymous and protect privacy. Especially when recording other people's screens or capturing online activities such as meetings and interviews, this is critical to respecting privacy expectations.
Furthermore, blur can enhance the professional look of your recording. By eliminating distracting details and focusing on what's important, you improve the viewing experience and effectively direct your audience's attention. In some cases, obscurity can also protect intellectual property by hiding proprietary information or sensitive design elements.
Part 2: Automatic Blurring the Screen Recording With AI - AVCLabs Video Blur AI
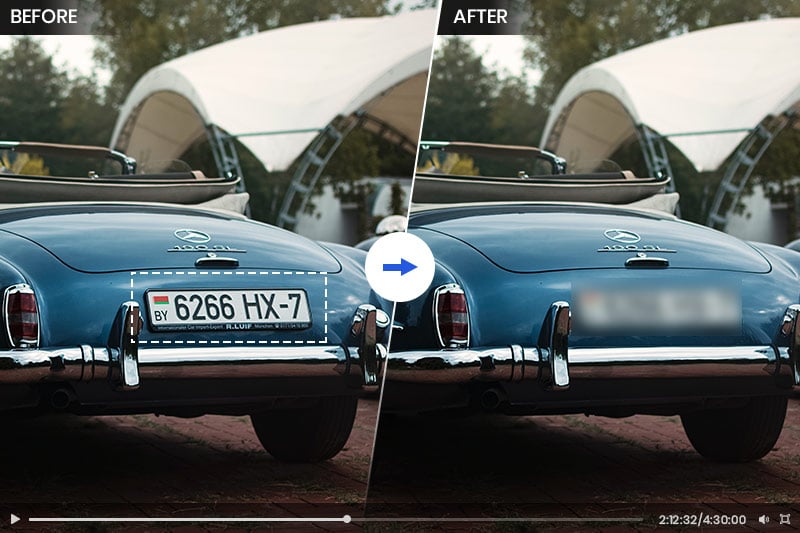
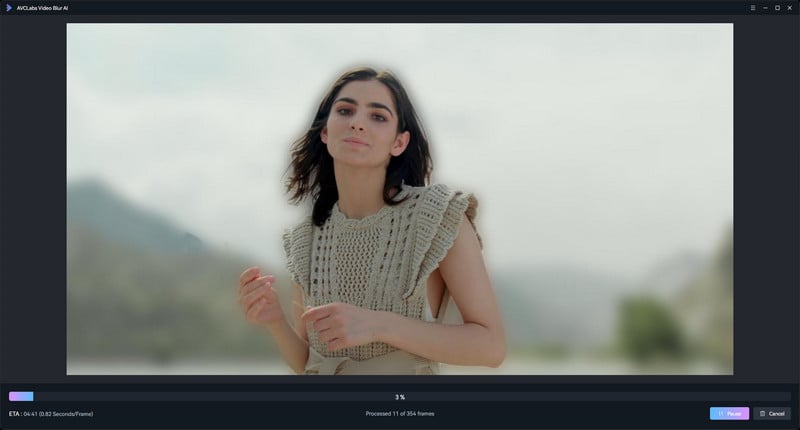
If you're looking for the easiest way to blur screen recording in a few clicks. Then AVCLabs Video Blur AI must be a product you can't miss. No need to manually choose to block blurred areas or use complex plug-ins, AVCLabs Video Blur AI uses artificial intelligence technology to automatically detect and track the areas of your screen recording that you want to blur, such as faces, license plates, backgrounds, specific areas, or other sensitive information. You can also adjust blur intensity, shape, and duration using simple sliders, providing high precision and flexibility for video anonymization.
Key Features of AVCLabs Video Blur AI
- Seamlessly blur specific areas of video, keeping the focus on what matters most
- Blur the detected faces selectively for single face or multiple faces in a video
- Automatically detect and track license plate in videos
- AI-automated solutions for face, background, object and license plates blurring
Steps to Blur the Screen Recording with AVCLabs Video Blur AI
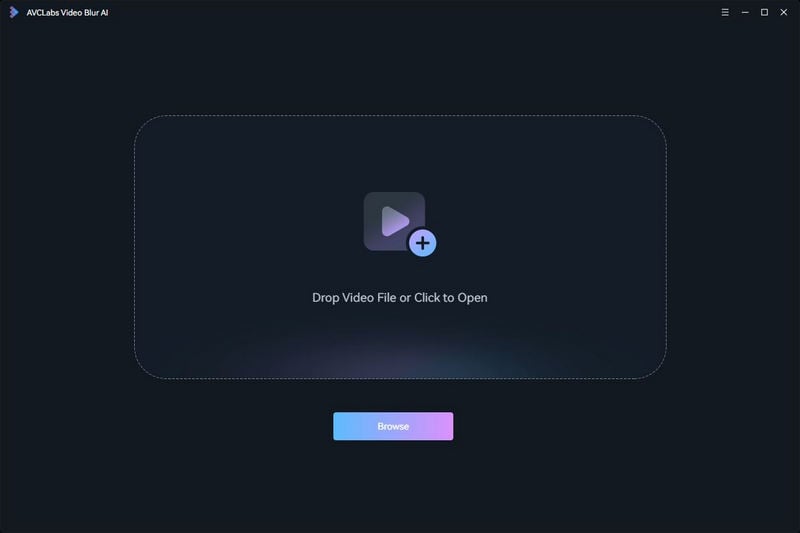
Step 1: Install AVCLabs Video Blur AI and Import Screen Recording Video
Download and run the installation package of AVCLabs Video Blur AI. Then click the "Browse" button or drag and drop to import the screen recording.
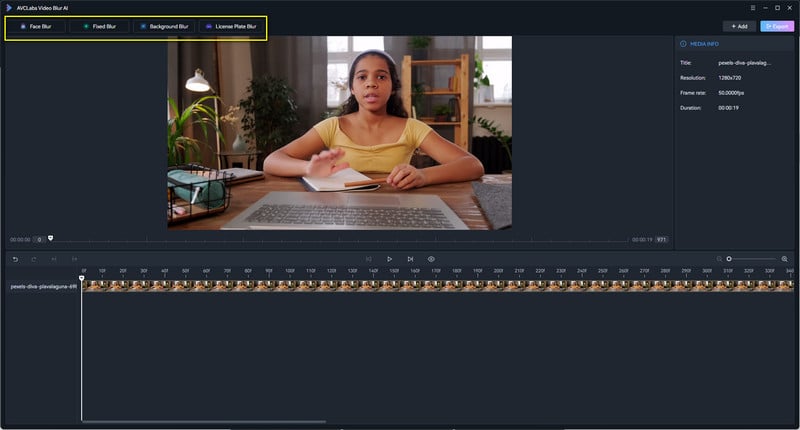
Step 2: Select Blur Model
Choose the blur mode from the top of the interface. You can choose from four modes: Face Blur, Background Blur, Fixed Blur, and License Plate Blur.
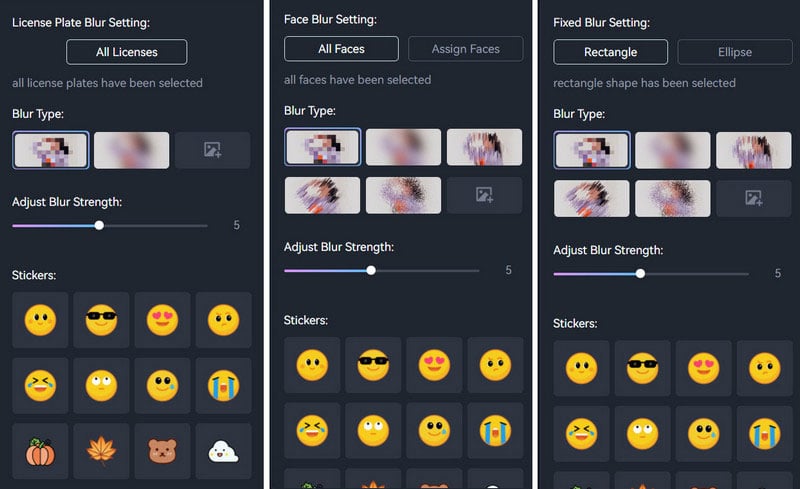
Step 3: Select Blur Type and Adjust Strength
There are 5 different blur types available: Mosaic, Standard Blur, Longitudinal Blur, Blique Blur, and Particle Blur. Moreover, you can also upload a custom image from your computer. Then you can adjust the blur strength by dragging the slider.
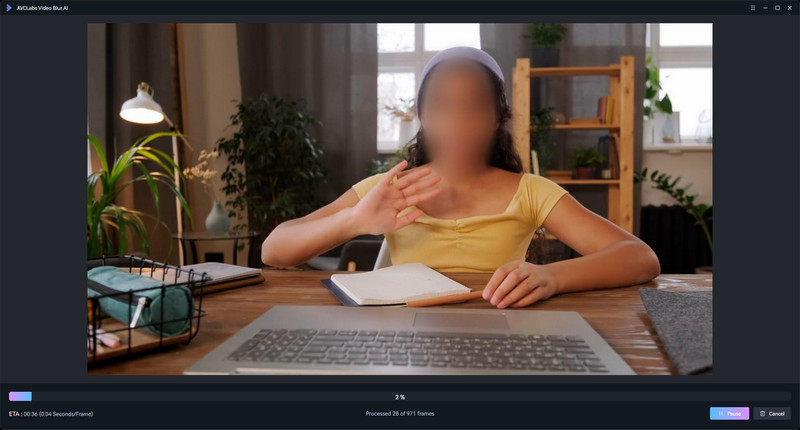
Step 4: Start Blurring Screen Recording
If you are satisfied with your blurred video, just click on the "Export" button to save it to your computer. You can choose the output format, output path, encoder and bitrate of your video.
Part 3: Using Dedicated Software to Blur A Screen Recording - Camtasia
Camtasia is a professional screen recording and video editing software with a wide range of features that allow you to record screen, camera and audio, and add customizable blur effects to create professional-quality videos. After the screen recording is completed, just drag and drop the blur area effect onto the canvas or timeline, and then adjust the size and position directly on the screen. With its powerful blur capabilities and intuitive interface, Camtasia enables both beginners and experienced users to protect sensitive information, enhance privacy, and improve the visual style of their recordings for professional results with ease.
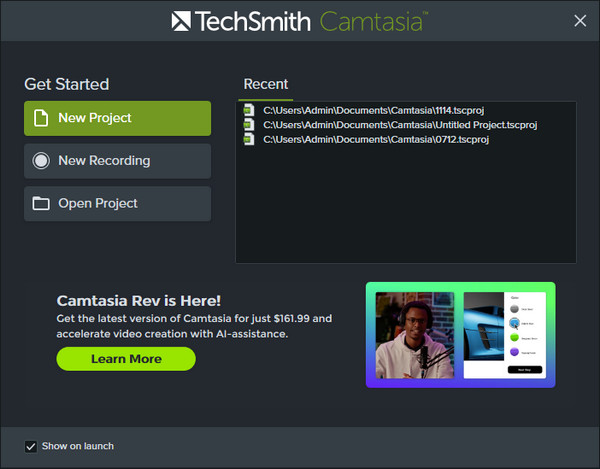
Step 1: Record or Import Video
Start the program and click the "New Recording" button to perform screen recording or click the "Open Project" button to import the screen recording video.
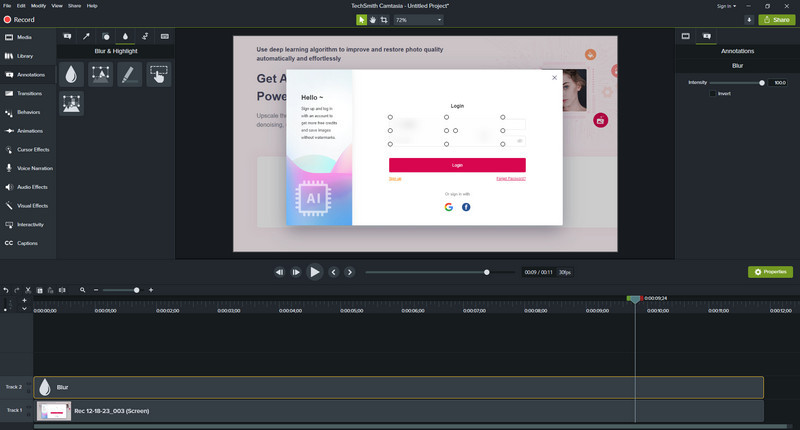
Step 2: Add the Blur Effect
To blur a part of your video, click the Annotations tab and then select the Blur & Highlight tab.
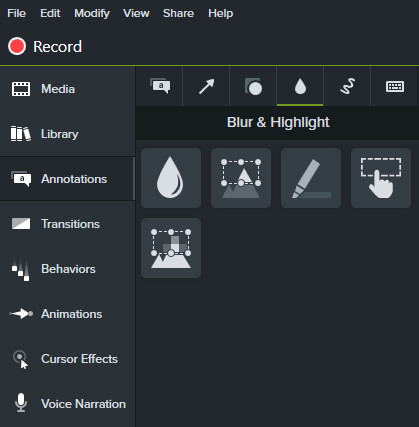
Drag and drop the blur effect to the video in the timeline. Then click "Blur Effect". You can adjust the size and position of the blurred area in the video to cover the desired part.

Step 3: Adjust Blur Intensity
On the right side of the program, you will see a slider that allows you to adjust the intensity of the blur effect. You can drag the slider to the right to increase the blur or to the left to decrease it.
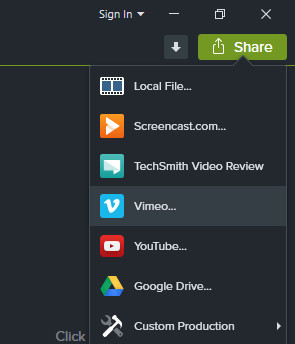
Step 4: Export Video
Click on the Play button to preview the video and see how the blur effect looks. If you are satisfied with the result, click on the Export button to save or share your blurred video.
Part 4: Manually Blurring the Recording in Video Editing Software - Movavi
Movavi Video Editor offers a user-friendly solution for effortlessly importing, editing, and exporting videos. Its intuitive interface, coupled with a variety of blur effects like Gaussian Blur, Radial Blur, or Zoom Blur, allows users to seamlessly mask faces, objects, or sensitive information in screen recordings. Moreover, Movavi's motion tracking feature ensures that blurring is applied accurately to moving objects, resulting in natural and professional-looking outcomes.
To use Movavi to blur screen recording, you can follow these general steps:
Conclusion
The imperative to blur screen recordings for privacy and professional aesthetics finds notable solutions in AVCLabs Video Blur AI, Camtasia, and Movavi Video Editor. Camtasia and Movavi offer powerful editing features, but AVCLabs Video Blur AI stands out for its unparalleled simplicity and efficiency. It leverages advanced artificial intelligence to automatically detect and precisely blur areas with minimal user intervention. Whether prioritizing simplicity, comprehensive editing, or user-friendly versatility, these approaches cater to different preferences, making it easy for users to protect privacy and improve the visual appeal of their recordings.