How to Blur Video in iMovie? [Step-by-Step Guide in 2026]
 Posted By: Sherry Johnson
- Posted On: April 29, 2026
- Category: Video Editing Tips
iMovie stands out as a flexible video editing tool, providing a variety of functions, one of which is the capability to apply blur effects to videos. This feature proves valuable for safeguarding privacy, highlighting particular elements in a video, or achieving a cinematic look. Whether you're using iMovie on your iPhone, iPad, or Mac, the process for blurring videos is straightforward and easy to follow. In this article, we will show you two methods to blur video in iMovie. Additionally, we'll introduce some alternative software and app options for users who want to blur videos on more platforms.
Part 1: How to Blur Video in iMovie on iPhone & iPad?
Using iMovie on iPhone or iPad has proven to be the most convenient way to blur videos for iOS users. As we're well aware, iMovie stands out as a free and robust video editing tool integrated into iOS devices. In the following section, we'll present straightforward steps on how to apply video blurring in iMovie on your iPhone or iPad. Let's delve into the process now.
Steps to Blur Video in iMovie on iPhone & iPad
- Step 1: Find a dark blurry or mosaic image and download it to your iPhone Camera Roll.
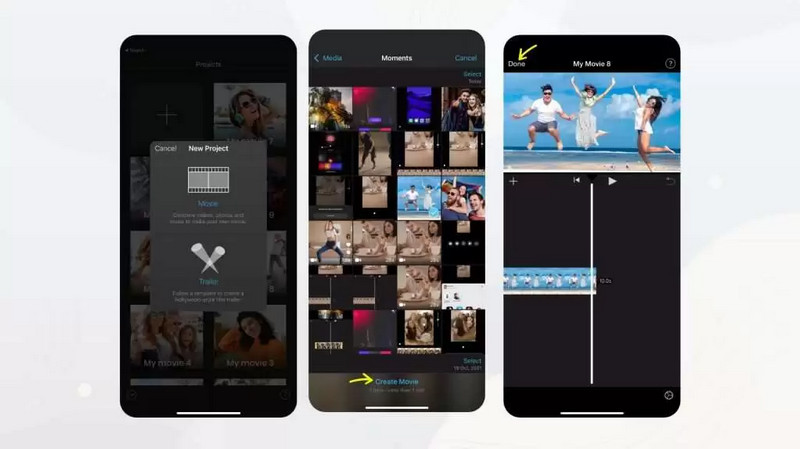
- Step 2: Launch iMovie and click on the plus icon (+) to initiate a new project.
- Step 3: Then, select Movie and choose the video you want to blur from your camera roll.
- Step 4: Tap Plus + from the iMovie editing timeline.
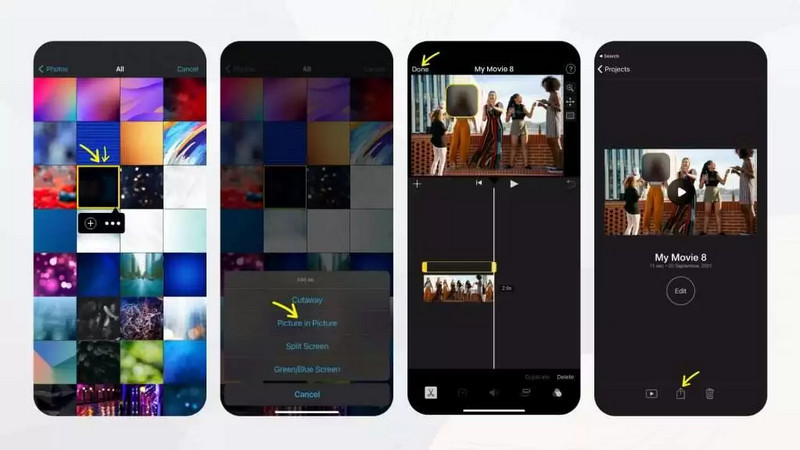
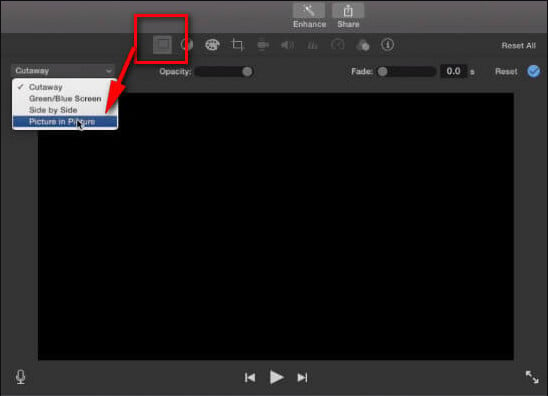
- Step 5: Select the blurry or mosaic photo and tap the three dots icon, then opt for the Picture in Picture option.
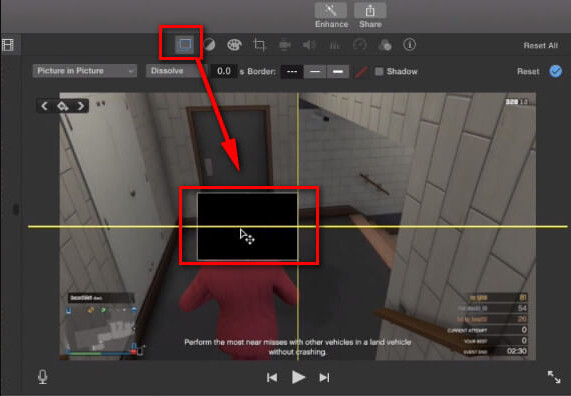
- Step 6: Adjust the position and size of the image to cover the area you want to blur.
- Step 7: Finally, click Done to save it to your iMovie project, or you can click the "Upload" icon to share your video.
Part 2: How to Blur Video in iMovie on Mac?
In contrast to its iPhone and iPad counterparts, iMovie on Mac excels at processing blurred videos with greater speed and stability. If you lean toward desktop video editing tools, this approach might be better suited to your preferences. It's worth noting that iMovie is exclusive to Mac; however, if you happen to be using Windows, fret not—refer to Part 3 for alternative methods.
Steps to Blur Video in iMovie on Mac
Step 1: Import video
Open iMovie and create a new project. Then, drag and drop the video you want to blur from your Finder to the timeline.
Step 2: Capture Screenshot
Press Shift-Command-4 and then make a screenshot of the scenes where you would like to blur to save the screenshot on your desktop.
Step 3: Blur Image with Photo Editor
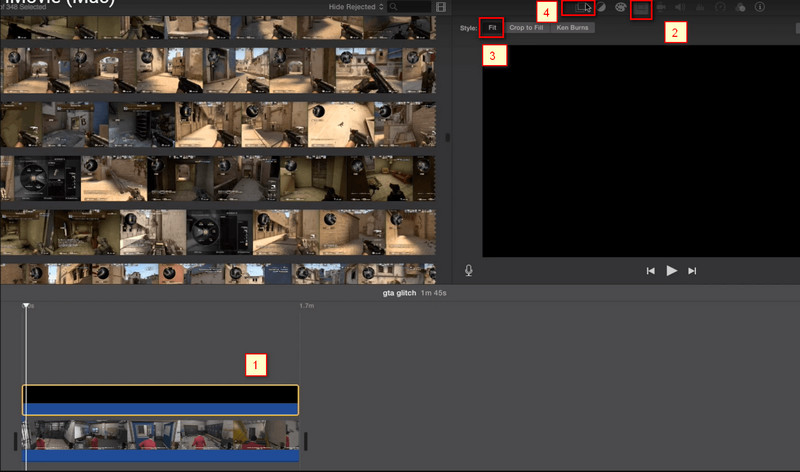
Utilize Photoshop, GIMP, Canvas, or any other photo editing software to generate a blurred version of the screenshot. Save the edited image and import it into your iMovie project. Click the image and select the Cropping button, then select Fit. Finally, select the Overlay Controls button.
Step 4: Apply the Picture-in-Picture effect
Choose the Picture-in-Picture option from the menu and position the blurred image over the section of the video clip that you wish to blur. You have the flexibility to resize and place it anywhere in your video.
Part 3: Reasons for Choosing Alternative Video Blurring Tools to iMovie
iMovie is a free and user-friendly video editing software designed for Mac and iOS devices. In the previous sections, we provided guides on using iMovie for both Mac and iPhone. However, it's evident from the instructions that iMovie lacks a built-in blur tool. To blur specific parts of a video, users have to adopt a workaround by importing a pre-blurred or mosaic image and using the picture-in-picture feature to overlay the desired blur area.
This workaround can be time-consuming and cumbersome, especially when dealing with multiple moving faces or objects that require blurring. Additionally, iMovie is exclusive to Mac and iOS, excluding users of Windows and Android. For these reasons, individuals may find it more convenient to explore alternative video blur tools that offer a smoother and platform-inclusive experience compared to iMovie.
Pros:
- As part of macOS and iOS, iMovie doesn't require additional payments or downloads.
- Blurring specific areas using a screenshot and the Picture-in-Picture effect offers some customization.
Cons:
- Do not have a built-in blur tool, which means you cannot blur out a section of your video directly.
- Lack advanced editing features, such as masking, motion tracking.
- Blurring through Picture-in-Picture is time-consuming, and not suitable for complex scenes with multiple or moving objects.
- iMovie is only available on Mac and iOS, excluding users of Windows and Android.
Part 4: Other 3 Alternative Video Blurring Software for Mac & Windows
If you're operating on a Windows system or prefer streamlined approaches such as employing AI for video blurring, then continue reading. We present 3 alternative software options to iMovie. You have the flexibility to select the one that aligns most fittingly with your preferences.
1. Filmora - Platform Inclusive Accessibility with Dedicated Tools and Blur Effect
Filmora, a versatile video editing software compatible with both Mac and Windows platforms, provides a wide array of blur effects, including face blur, pixelation, Mosaic, and Gaussian blur. Users can go beyond basic blurring, as Filmora allows for detailed customization of the blurred area, shape, and duration through the use of keyframes, enhancing precision and creative control in video editing.
Features:
- Basic blur types like Pixelate, Mosaic, and Gaussian are readily available, perfect for quick and simple blur applications.
- Dive into detailed customization with keyframe control over the blurred area, shape, and duration, allowing for more refined adjustments.
- Explore a diverse range of pre-made blur effects and filters, adding instant style and flair to your videos.
- A user-friendly interface and less demanding system requirements make Filmora ideal for those learning the ropes or who value a smooth and accessible editing experience.
How to Blur Video in Filmora?
- Step 1: Add the video clip you want to edit on Filmora's timeline.
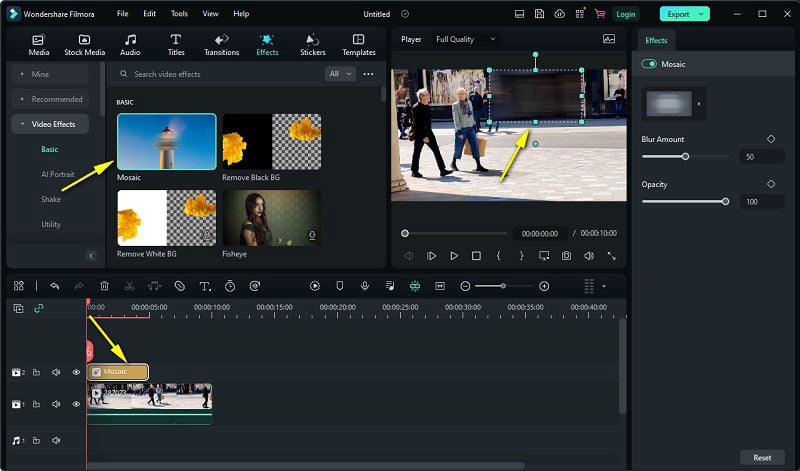
- Step 2: Go to Effects > Utility and select the Mosaic effect. Drag the Mosaic effect above your clip on the timeline.
- Step 3: Double-click the Mosaic clip on the timeline to bring up its settings.
- Step 4:You can adjust the intensity and duration of the blur effect by dragging the borders of the effect layer.
- Step 5: Click the play button to preview the final video. Then hit the Export button in the upper-right corner to save the blurred video.
2. Adobe Premiere Pro - Comprehensive Blurring Options and Motion Tracking Capabilities
Adobe Premiere Pro is a professional-grade video editing software widely used in the industry and is compatible with Mac and Windows. It provides advanced tools for video editing, including the capability to apply intricate and customized blur effects. Leading the way in video blurring with its precise control, diverse blur types, masking and tracking capabilities, and seamless integration with other Adobe tools. Despite its steep learning curve, its powerful features make it one of the top choices among professional video editors.
Features:
- Precise control over blur intensity, shape, and animation. Its diverse blur types allow for intricate and customized effects.
- Powerful masking and tracking capabilities give you the freedom to blur specific areas while keeping the rest in focus.
- Effortlessly integrate with other Adobe tools like After Effects, streamlining your workflow and amplifying your creative potential.
- Demanding on system resources, but its advanced features and performance make it the industry standard for professional video editors.
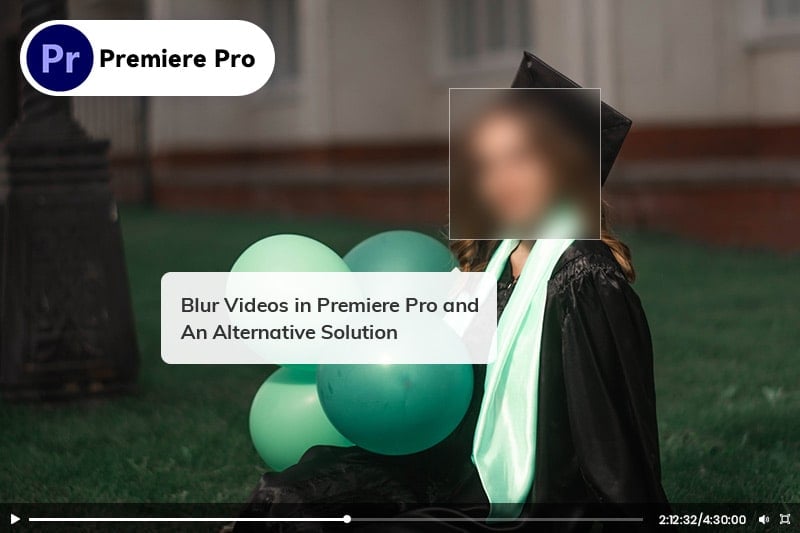
How to Blur Video in Premiere Pro?
- Step 1: Import video into Premiere Pro you wish to edit and drag onto your timeline.
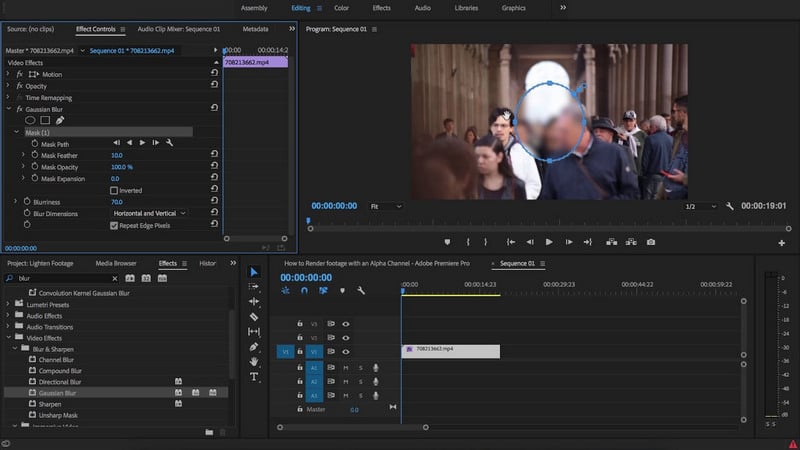
- Step 2: Access the Effects tab, and then click Video Effects, and then Blur & Sharpen.
- Step 3: Click Gaussian Blur. Then drag the Blur over the intended area.
- Step 4: Adjust Positioning, Scale or Rotation to your liking.
- Step 5: Further fine-tune the blur effect by adjusting mask expansion and more.
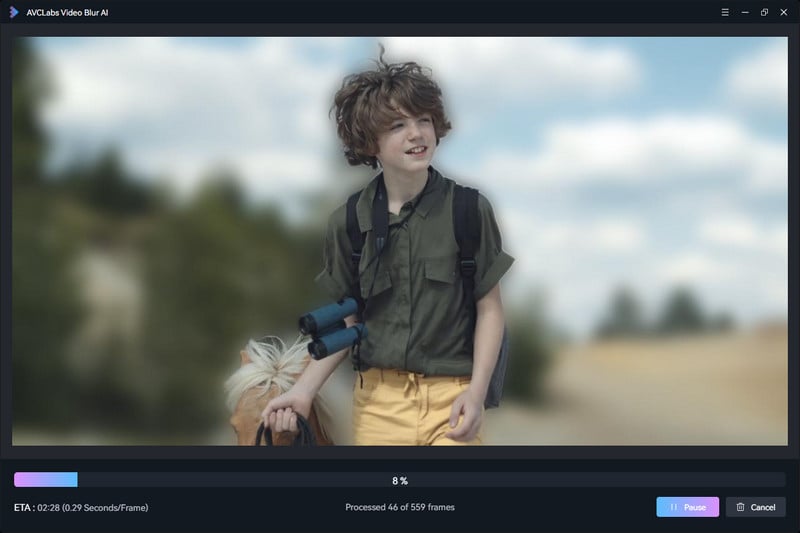
3. AVCLabs Video Blur AI - Utilize AI for Precise and Automated Video Blurring with High Accuracy
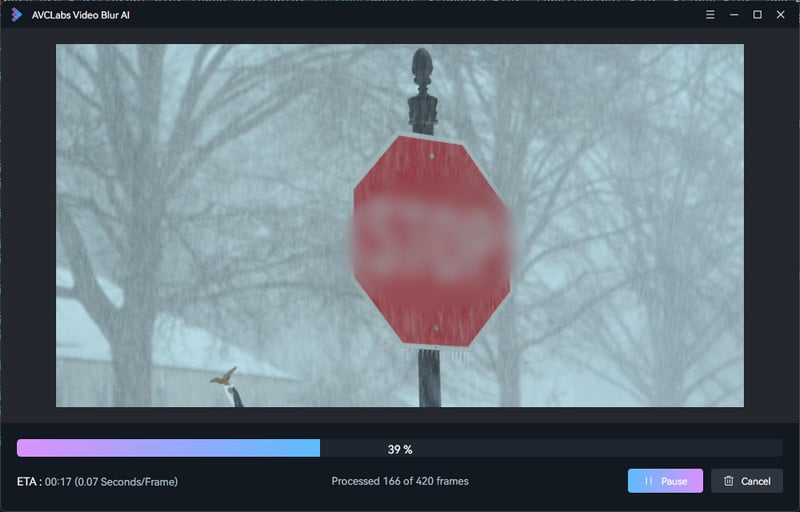
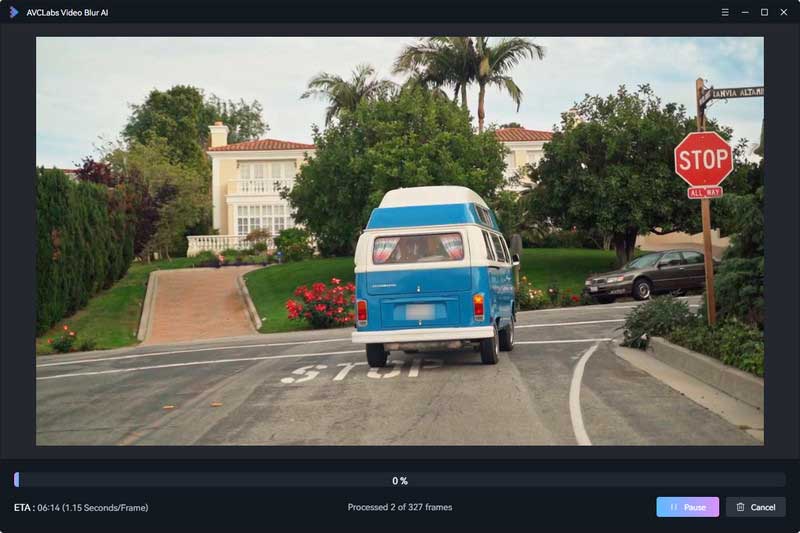
AVCLabs Video Blur AI is an exceptional video blurring tool that utilizes artificial intelligence to effectively obscure faces, objects, logos, and backgrounds within videos. It offers users a range of blur modes, including Mosaic, Standard Blur, Longitudinal Blur, Blique Blur, and Particle Blur. Additionally, users have the flexibility to fine-tune the intensity of the blur effect. Notably, AVCLabs Video Blur AI is compatible with both Mac and Windows operating systems.
Key Features of AVCLabs Video Blur AI
- Seamlessly blur specific areas of video, keeping the focus on what matters most
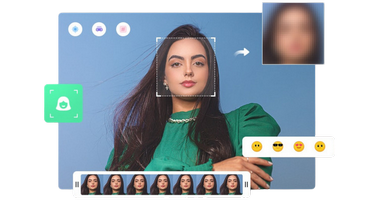
- Blur the detected faces selectively for single face or multiple faces in a video
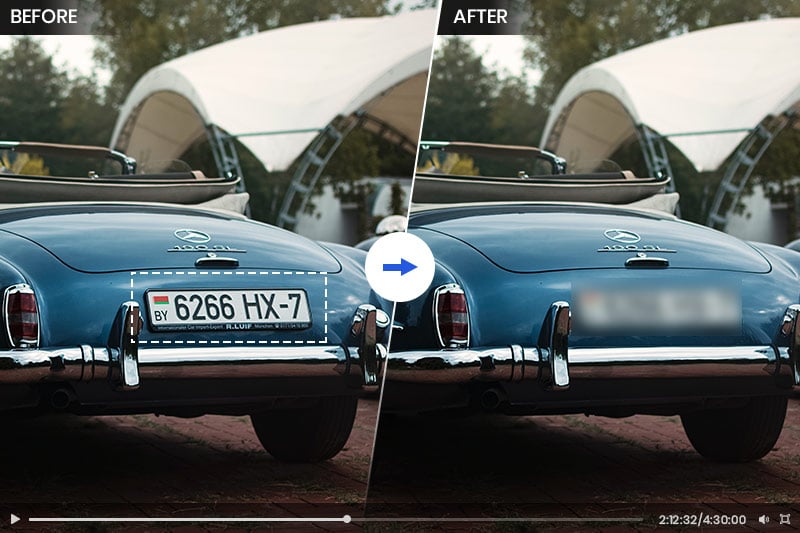
- Automatically detect and track license plate in videos
- AI-automated solutions for face, background, object and license plates blurring
How to Blur Video with AVCLabs Video Blur AI
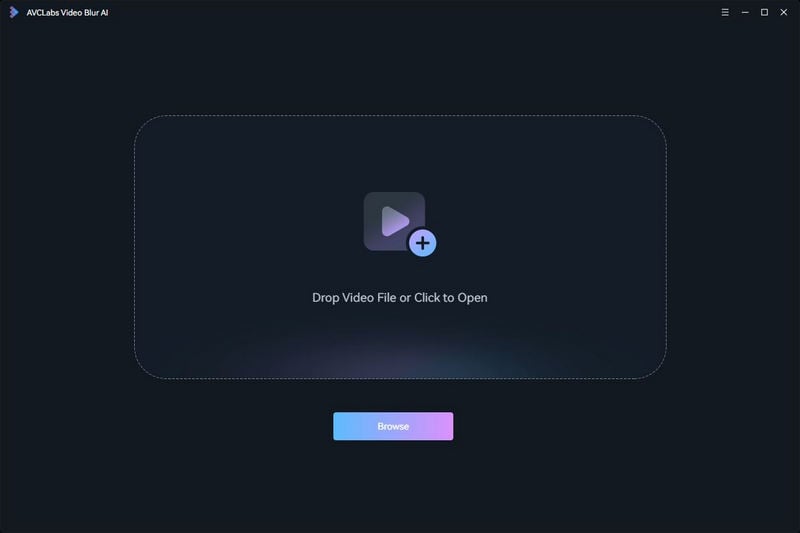
Step 1: Install AVCLabs Video Blur AI and Import Video
Click the "Browse" button or drag and drop to import the video file containing the faces you want to blur.
Step 2: Select Blur Model
AVCLabs Video Blur AI provides 4 blur models: Face Blur, Background Blur, Fixed Blur, License Plate Blur. You can choose different blur models at the top of the program according to your needs.
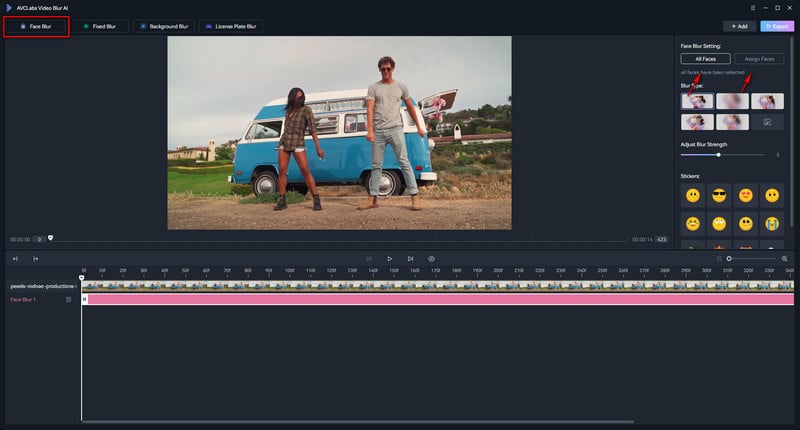
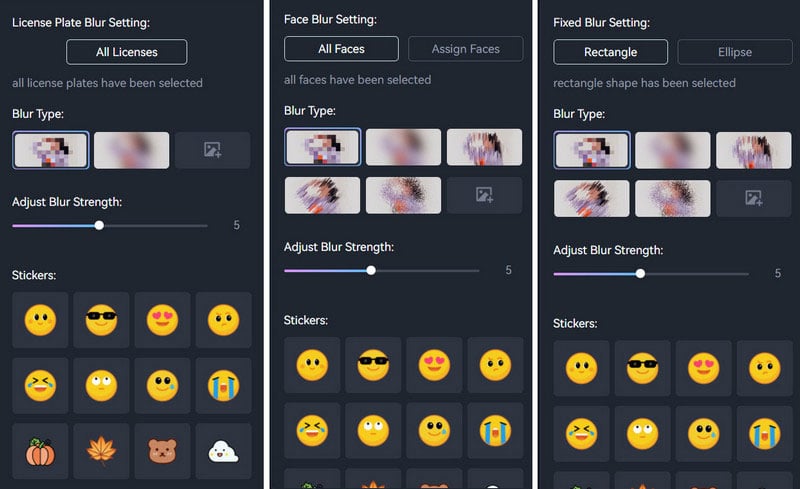
Step 3: Select Blur Type and Adjust Strength
There are 5 different blur types available: Mosaic, Standard Blur, Longitudinal Blur, Blique Blur, and Particle Blur. Moreover, you can also upload a custom image from your computer. Then You can adjust the blur strength by dragging the slider.
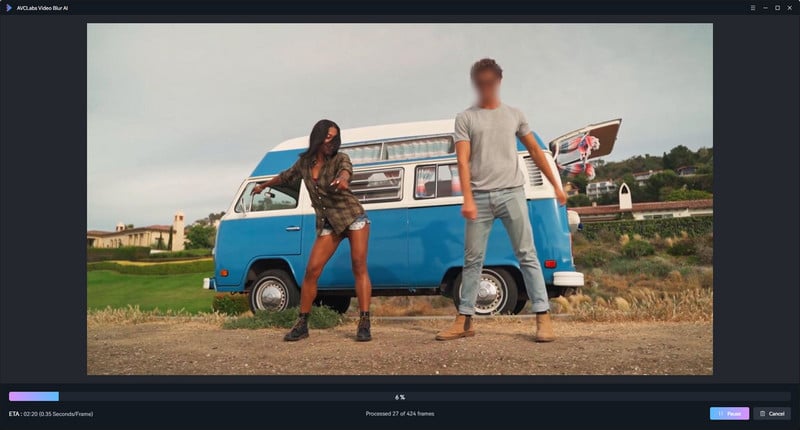
Step 4: Start Blurring Objects in Video
After configuring all the necessary settings, just click the "Export" button to initiate the automatic facial blurring process in your video on your computer.
- Face Blur
- Background Blur
- Fixed Blur
- License Plate Blur
Part 5: Best 3 Alternative Video Blurring Apps for iPhone & Android
In Part 3, we highlighted three outstanding desktop alternatives to iMovie. Professionals often opt for dedicated software due to its extensive functionality, superior output quality, offline editing capabilities, and other advanced features. However, there are users who prioritize convenience and user-friendliness offered by mobile apps. In this section, we will introduce three exceptional video-blurring apps as alternatives to iMovie, catering to a broader range of users on various mobile devices beyond iOS.
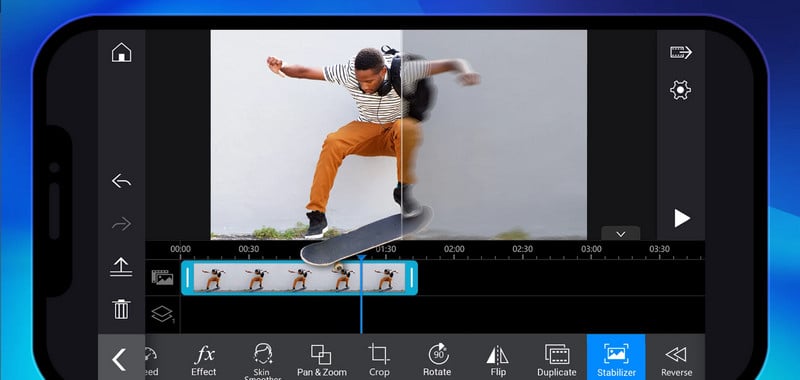
1. PowerDirector
PowerDirector stands out as a comprehensive and user-friendly editing application. Similar to AVCLabs Video Blur AI, it incorporates artificial intelligence for automated editing, enabling individuals without prior video editing expertise to achieve professional-level edits effortlessly. The AI technology is adept at identifying the movement of subjects, automatically tracking them, and seamlessly blurring moving objects.
Features:
- Multi-track editing, trimming, merging, speed controls, transitions, effects, keyframe animation, motion tracking.
- AI tools for auto color correction, background removal, and object detection.
- User-friendly design for both beginners and experienced users.
- Free version with limited features, paid subscription for full access.
2. Kinemaster
KineMaster stands out as a professional-grade video editing application equipped with an extensive collection of music, sound effects, stickers, and video templates. With KineMaster, users can incorporate multiple layers of video, audio, images, text, and effects into their projects. Additionally, KineMaster offers the capability to apply various blur effects to faces, objects, backgrounds, or the entire video. It's worth noting, however, that while the free version of KineMaster provides limited options, unlocking the full range of features requires a series of in-app purchases.
Features:
- Multi-layer support for video, audio, images, text, and effects.
- Extensive Music, sound effects, stickers, and video templates.
- Apply various blur effects to faces, objects, backgrounds, or the entire video.
- Limited features in the free version, in-app purchases required for full access.
3. InShot
InShot proves to be an excellent application that allows users to apply a blur effect to videos by specifying pixel size, color, and shape for a customized blur. The app offers a slider for adjusting the intensity of the blur. Furthermore, InShot enables users, whether on Android or Apple devices, to easily crop, trim, and enhance videos by adding filters, stickers, text, and music—all in a user-friendly and intuitive interface.
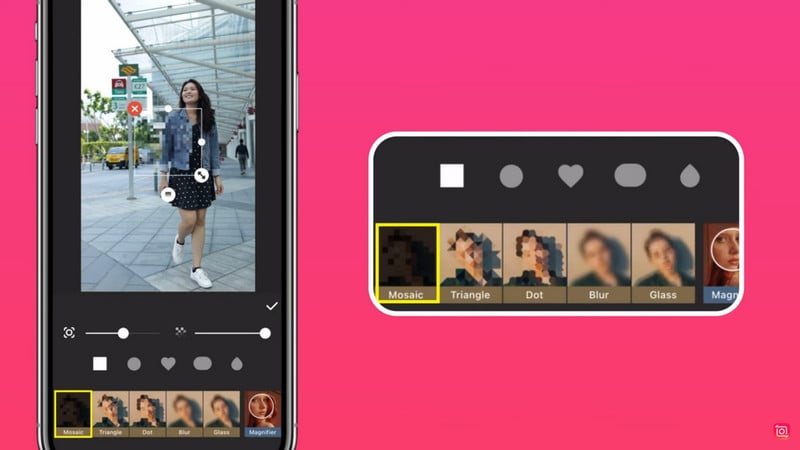
Features:
- Specify pixel size, color, and shape for a personalized blur effect.
- Slider for controlling the intensity of the blur.
- Cropping, trimming, adding filters, stickers, text, and music.
- Simple and intuitive design for mobile devices.
Conclusion:
iMovie serves as a versatile video editing tool, offering an uncomplicated and efficient means to blur videos across iPhone, iPad, and Mac platforms. Despite its user-friendly features, iMovie has constraints, particularly its incompatibility with Windows systems, making it inaccessible to a broader audience. This article delves into three noteworthy alternatives to address these limitations. For those seeking a straightforward substitute, AVCLabs Video Blur AI and PowerDirector are highly recommended, leveraging artificial intelligence for video processing.