Protecting Privacy in Videos: A Comprehensive Guide on How to Blur Faces in Videos
"What is the easiest way to blur faces in a video? - Quora"
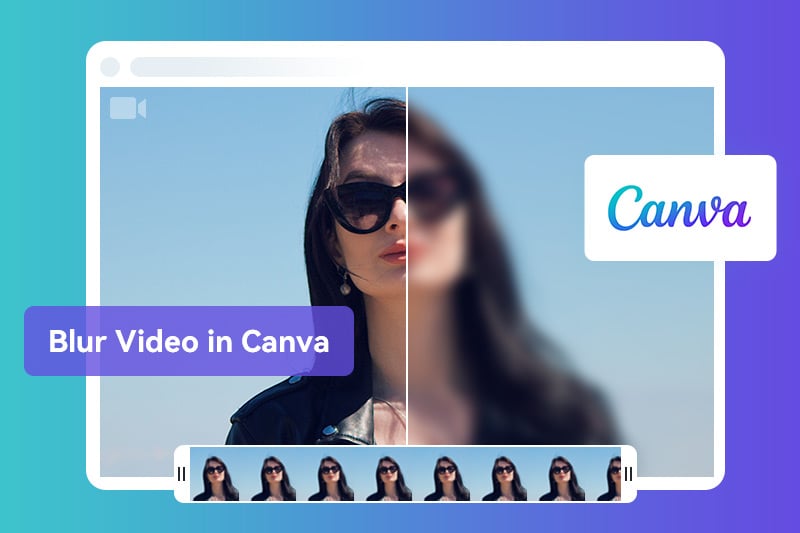
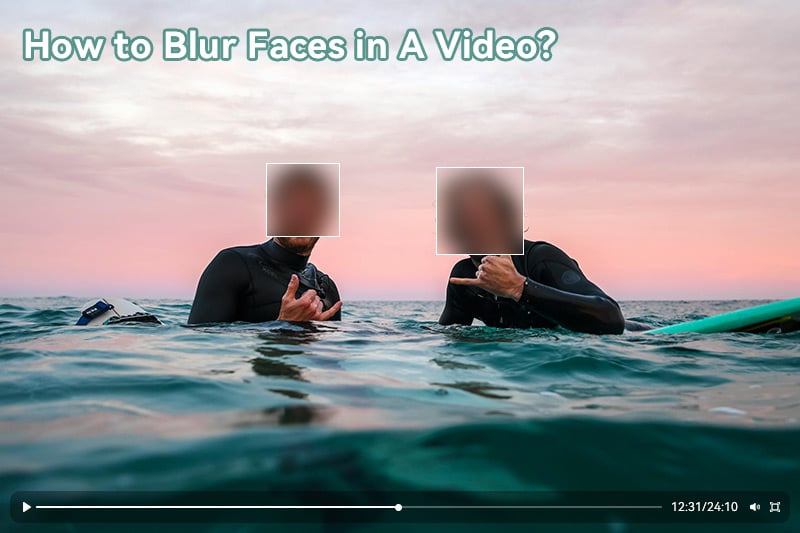
Blurring faces in a video is a valuable method for safeguarding the privacy, confidentiality, or safety of individuals, whether it's your own or someone else's. The need to blur faces in a video can arise in various contexts, such as social media, journalism, activism, education, and more. There are multiple techniques available for blurring faces in videos, and they can be applied on different devices or platforms. This article offers a comprehensive guide on how to blur faces in videos using various methods and tools across different platforms, including Windows, macOS and online video editing tools.
- Part 1: Manual Face Blurring with Video Editing Software - CapCut
- Part 2: Automated Face Blurring with Video Blur AI - AVCLabs Video Blur AI
- Part 3: Blur Faces in Videos Using Free Online Tool - Flixier
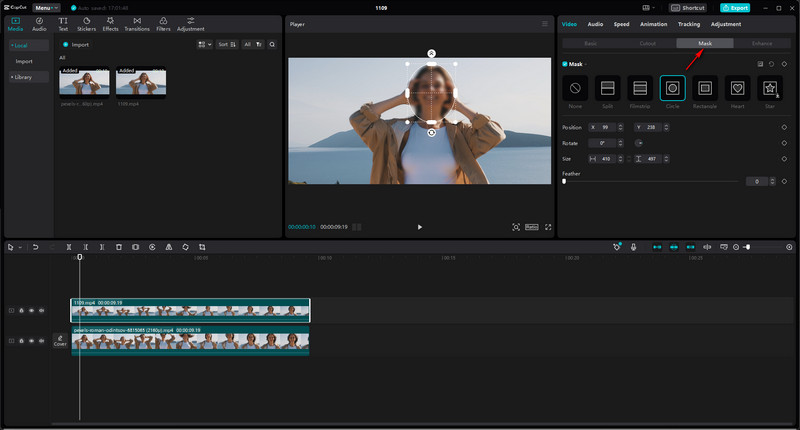
Steps to Blur Faces in Video with CapCut
Pros and Cons of Blurring Faces in Video with CapCut
Steps to Blur Faces in Video with AVCLabs Video Blur AI
Pros and Cons of Blurring Faces in Video with AVCLabs Video Blur AI
Part 1: Manual Face Blurring with Video Editing Software - CapCut
Manual face blurring with video editing software is a versatile and effective method for anonymizing individuals in videos. It offers precise control over the blurring process, allowing for adjustments to blur intensity, size, and shape. This method is particularly useful for small video projects or when dealing with complex scenes where automated face detection may struggle.
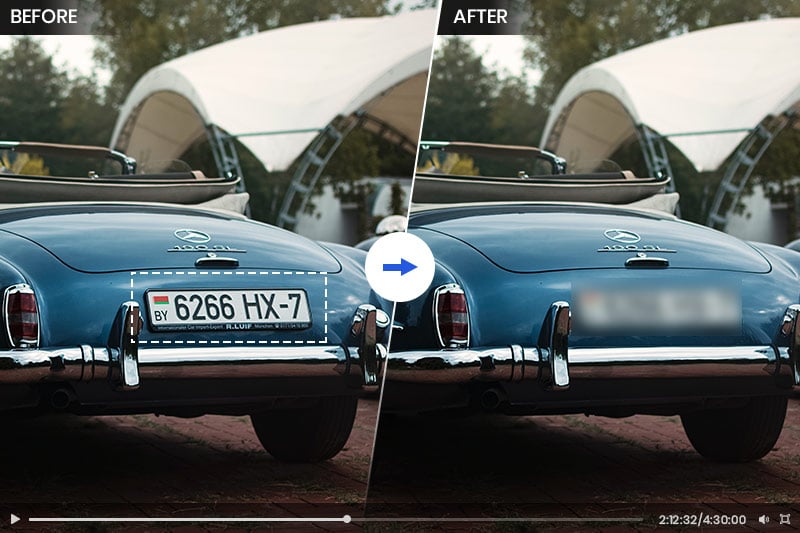
CapCut is a free video editing software that offers a variety of features, including the ability to blur faces and license plate in videos. This can be a useful tool for protecting privacy or for creating a specific visual effect on Windows and macOS.
Steps to Blur Faces in Video with CapCut
Pros and Cons of Blurring Faces in Video with CapCut
Pros:
- Precise control over the blurring process.
- Flexibility to adjust blur intensity, size, and shape.
Cons:
- Time-consuming, especially for large video projects.
- Requires manual effort to draw and adjust masks.
- May require additional expertise for tracking moving faces.
Part 2: Automated Face Blurring with Video Blur AI - AVCLabs Video Blur AI
Automated facial blurring powered by artificial intelligence has emerged as a game-changing technology for safeguarding privacy and sensitive information within video content. AVCLabs Video Blur AI offers a streamlined and effective solution for anonymizing individuals in videos. In contrast to manual facial blurring, AVCLabs Video Blur AI is a time-efficient and effortless method. It possesses the capability to detect, track, and obscure faces in videos, even when dealing with multiple faces or faces in motion. Furthermore, you have the flexibility to fine-tune the degree and scope of blurring to match your preferences.
Key Features of AVCLabs Video Blur AI
- Blur the detected faces selectively for single face or multiple faces in a video
- Automatically detect and track license plate in videos
- Blur or pixelate parts of a video
- AI-automated solutions for face, background, object and license plates blurring
Steps to Blur Faces in Video with AVCLabs Video Blur AI
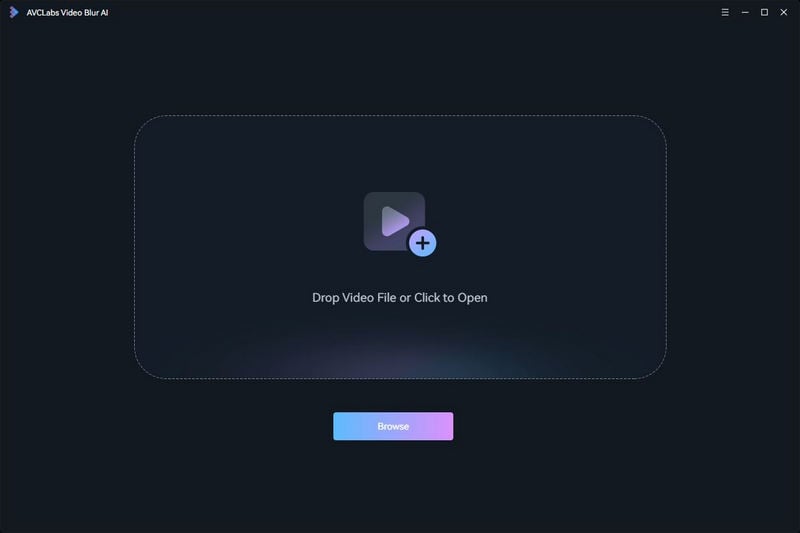
Step 1: Install AVCLabs Video Blur AI and Import Video
Download and run the installation package of AVCLabs Video Blur AI. Then click the "Browse" button or drag and drop to import the video file containing the faces you want to blur.
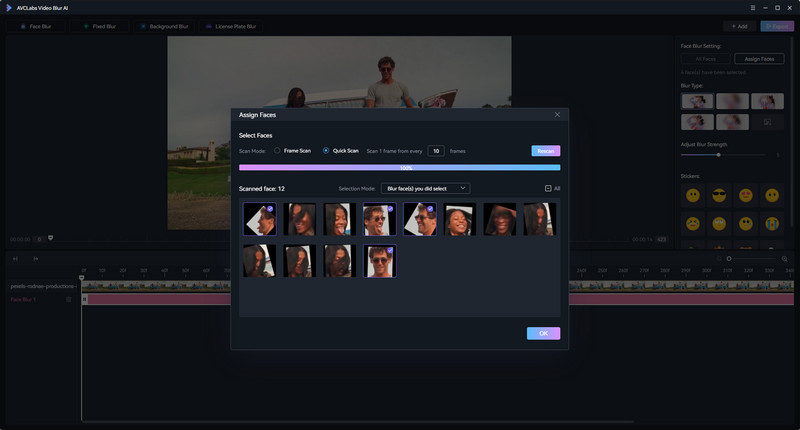
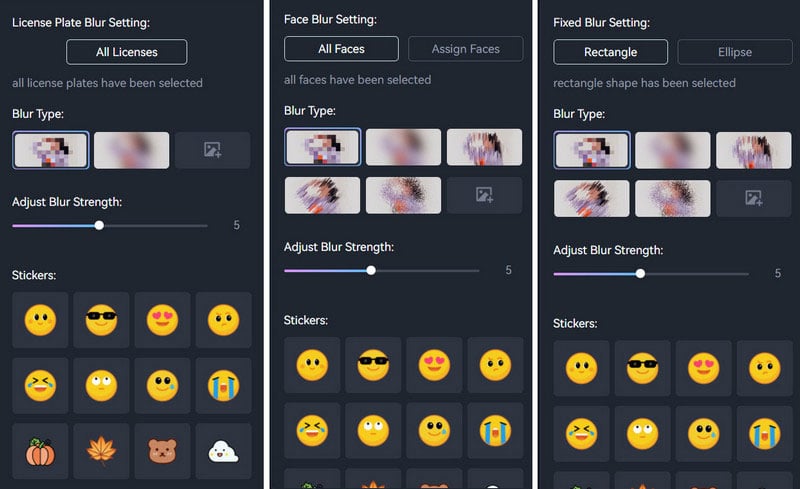
Step 2: Select Blur Mode
After importing a video to the program, simply navigate to the Face Blur tab at the top of the program to start a face blur task. Then Choose between "All Faces" or "Assign Faces" depending on your requirements.
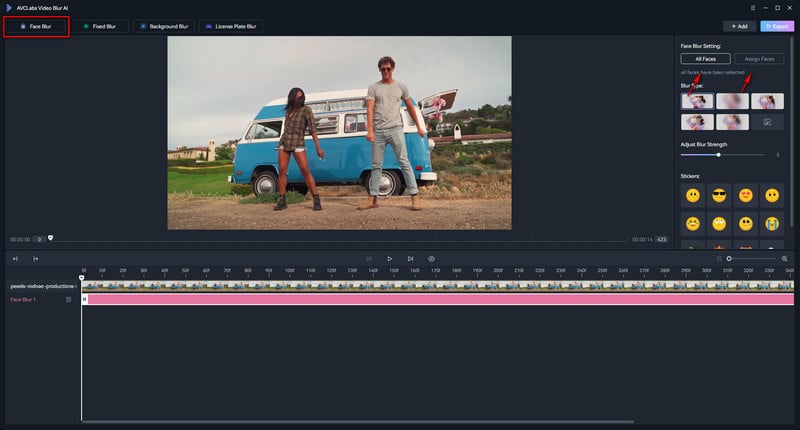
Step 3: Select Blur Type and Adjust Strength
There are 5 different blur types available: Mosaic, Standard Blur, Longitudinal Blur, Blique Blur, and Particle Blur. Moreover, you can also upload a custom image from your computer. Then You can adjust the blur strength by dragging the slider.
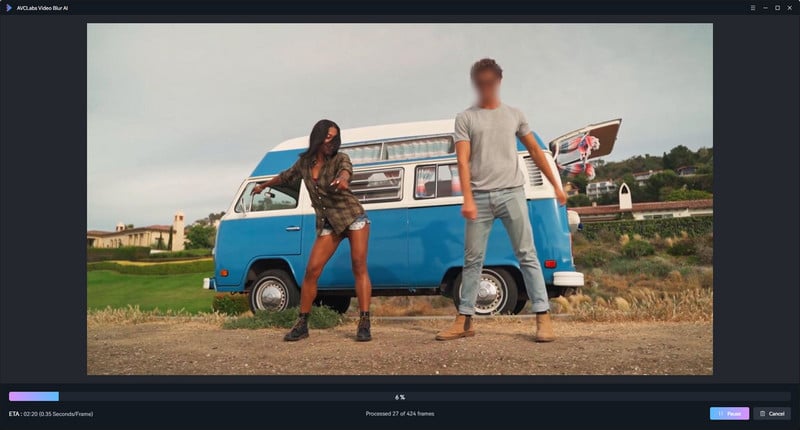
Step 4: Start Blurring Faces in Your Video
After configuring all the necessary settings, just click the "Export" button to initiate the automatic facial blurring process in your video on your computer.
Pros and Cons of Blurring Faces in Video with AVCLabs Video Blur AI
Pros:
- Effortless and time-saving.
- High accuracy and precision, even for complex scenes and moving faces.
- Can blur specific faces or all faces in a video.
- Scalable for large video collections and live video streams.
Cons:
- Paid subscription required.
- Potential for minor errors in face detection and blur application.
Part 3: Blur Faces in Videos Using Free Online Tool - Flixier
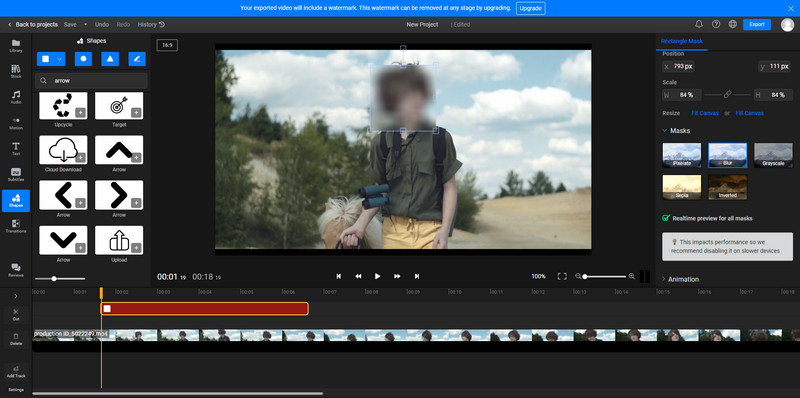
Blurring faces in videos is an essential step to protect the privacy of individuals when sharing videos online. Fortunately, there are free online tools available that can help you blur faces quickly and easily. Flixier is a popular online video editor for blurring faces in videos. You can use a simple drag and drop interface to create a mask and apply a blur or pixelate filter to it. You can also use keyframes to animate and resize the mask to follow the faces in motion.
Steps to Blur Faces in Video with Flixier
Pros and Cons of Blurring Faces in Video with Flixier
Pros:
- Easy to use with intuitive interfaces.
- Suitable for simple video projects.
- Can blur specific faces or all faces in a video.
- Various blur options, including pixelation and mosaic blur.
Cons:
- Free version has limited features and usage restrictions.
- Moderate precision, may require additional adjustments.
Conclusion:
In this article, we have discussed the importance of protecting privacy in videos, and how to blur faces in videos using different tools and methods. We have covered the pros and cons of using automated face blurring software, such as AVCLabs Video Blur AI, as well as the steps to use it. We have also explained how to blur faces manually using video editing software and online tools. All three methods of blurring faces in videos offer unique advantages and disadvantages. The choice of method depends on the specific requirements of the video project, such as the number of faces to be blurred, the complexity of the scene, and the desired level of control over the blurring process.