How to Get Good Video Quality on CapCut Desktop [5 Ways Included]
 Posted By: Charlie Campbell
- Post On: June 2, 2026
- Category: Video Enhancer Tips
With the popularization of AI technology, not only the dedicated AI video quality enhancer can improve the video quality to take poor-quality video to the next level, but also AI video editing tools like CapCut can enhance video quality to help users get HD and 4K quality. Then, let's come to the most comprehensive tutorial on how to get good video quality on the CapCut desktop version.
- Part 1: 5 Ways to Help You Get Good Video Quality on CapCut Desktop
- Part 2: Best Alternatives to CapCut to Help Users Get Good Video Quality with Ease
1.1 How to Get HD Video Quality on CapCut with Image Enhancement Tool
1.2 How to Get 4K Quality on CapCut without Pro Membership
1.3 How to Enhance Face on CapCut
1.4 How to Get Good Video Quality on CapCut by Stabilizing Video
1.5 How to Get Good Video Quality on CapCut by Removing Flickering
2.1 Get HD/4K Video Quality with AVCLabs Video Enhancer
Part 1: 5 Ways to Help You Get Good Video Quality on CapCut Desktop
In this part, we explore all the ways available on the CapCut desktop version to help users get good video quality. Some of them are AI-based tools, and some of them are special effects and filters that are helpful for improving the overall quality.
1.1 How to Get HD Video Quality on CapCut with Image Enhancement Tool
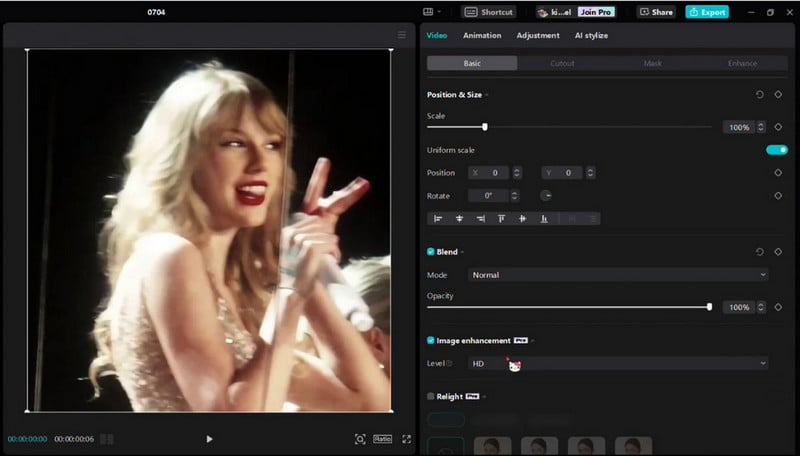
If you are editing the video in HD or UHD, but there are some clips in 720P resolution, you can use the "Image Enhancement" tool on CapCut Pro to change the resolution of these clips to HD or UHD.
Image Enhancement is an AI tool that can enhance video and image quality immediately, so there is no need to do more manual adjustments, but it is only available on CapCut Pro.
Step 1: Import your SD or any low-quality footage to CapCut Pro on your desktop.
Step 2: Drag & drop the video to the timeline.
Step 3: At the right panel, go to the "Video" section -> "Basic" -> activate "Image Enhancement", and select the "Level" to HD or UHD.
1.2 How to Get 4K Quality on CapCut without Pro Membership
If you have no CapCut Pro but want to get 4K quality of your video, you can apply the special effects or filters and manual adjustment to achieve your desired result. The operation is a little bit complex, but it still works. This is best for editing 1080P footage and exporting it to 4K Quality without ruining the overall quality.
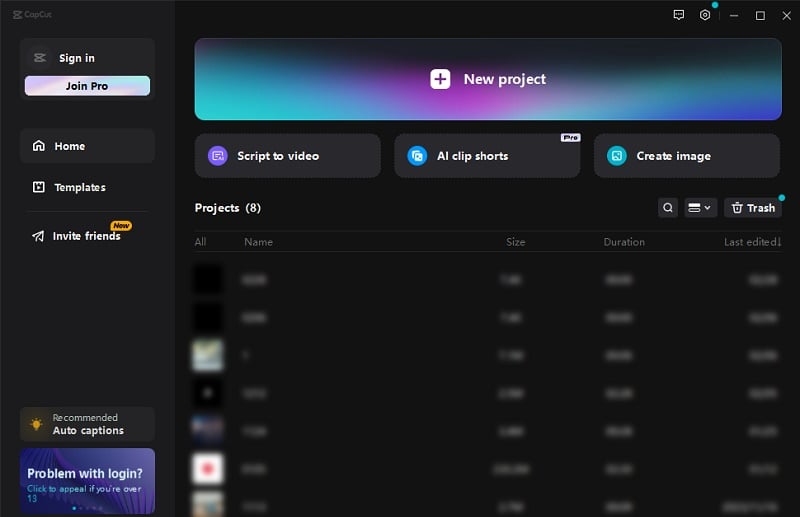
Step 1: Launch CapCut on Your PC and Import a Video
Launch CapCut on your PC, then click "+ New Project" and import a video that you want to export it as 4K quality. Then add the imported video to the timeline.
Step 2: Apply Effects to the Video
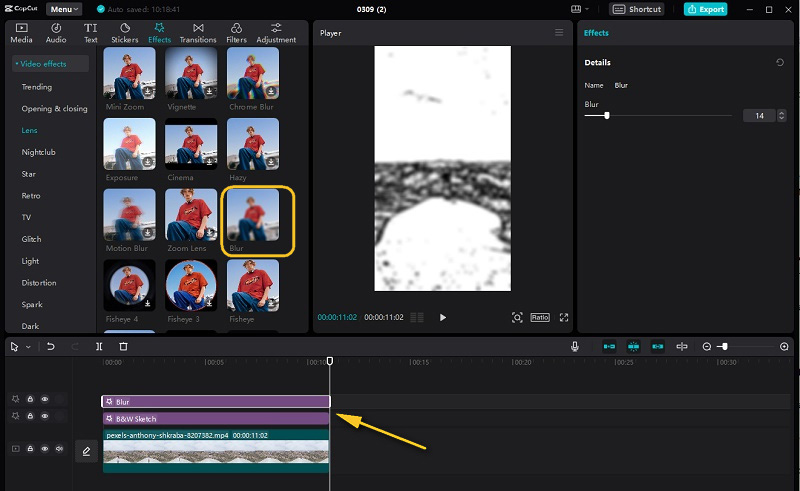
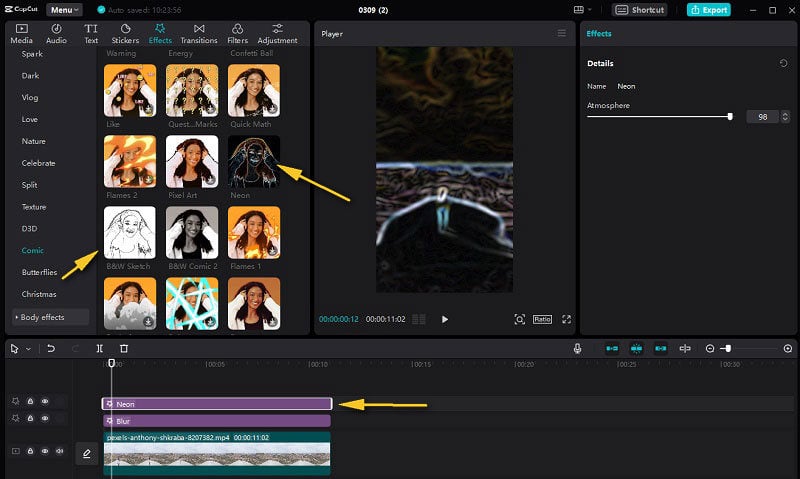
Firstly, navigate to the "Effect" section -> "Video effects" -> select the "B&W Sketch" effect from the "Comic" category and add it to the timeline. Extend this effect to make it match the length of the entire video.
Secondly, select the "Blur" Effect from the "Lens" category and add it to the timeline. Drag this effect to extend to the end of the original video.
Thirdly, click the "Export" button to save this as the first video.
Finally, delete the B&W Sketch effect from the timeline, and add the "Neon" effect from the "Comic" category. Then export to save this as the second video.
Step 3: Import 2 Processed Videos and Add them as Overlays
Firstly, remove all left special effects from the timeline.
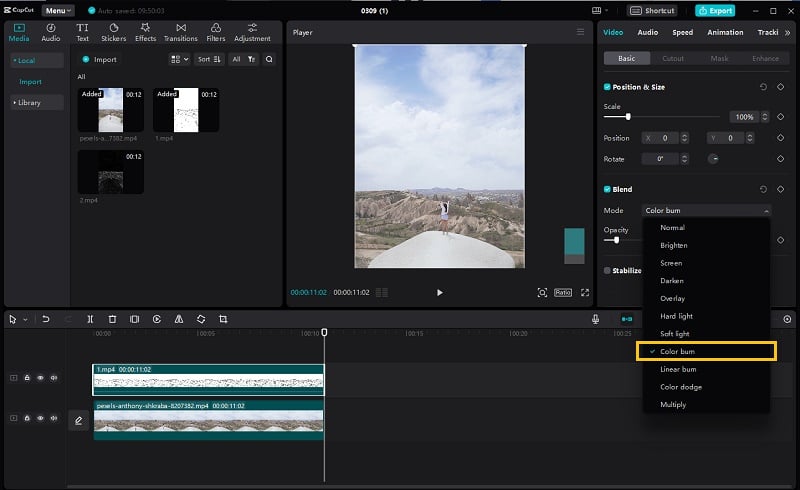
Secondly, import two processed videos to local media. Drag the first one with the "B&W Sketch" effect to the timeline, above the original video. Then go to the right panel, click the "Video" section -> "Basic" option -> "Blend", and select "Color Burn" from the Mode list.
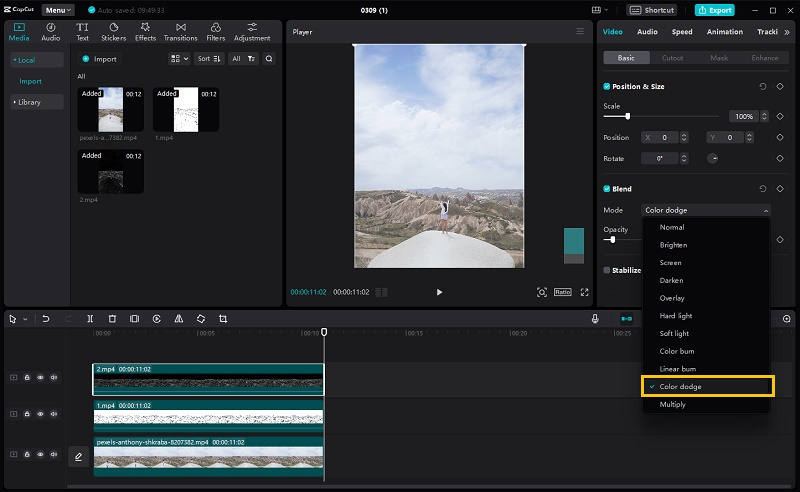
Finally, drag the second video with the "Neon" effect to the timeline, above the first one with the "B&W Sketch" effect. Then select "Color Dodge" from the Mode list.
If you find the effect is unnatural, especially for the portraits, you can lower the "Opacity" to make the overall frame more natural.
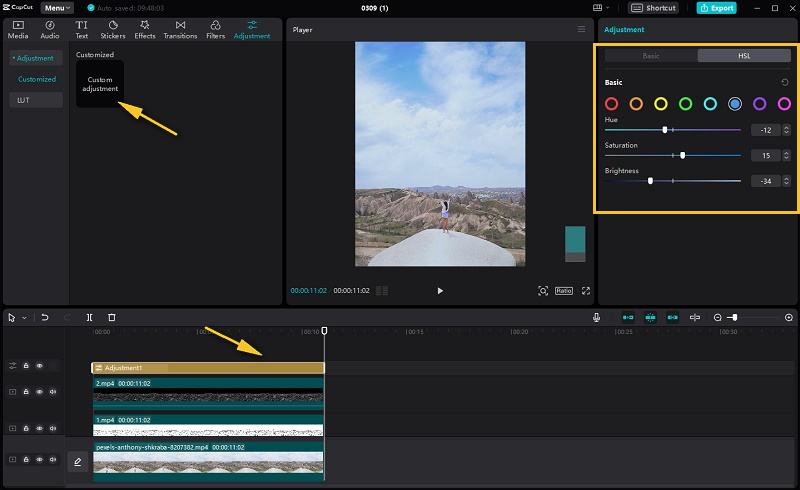
Step 4: Add Custom Adjustment
If necessary, you can click the "Adjustment" tab at the top left panel and add it to the timeline. Then make some manual adjustments to make the final video into better quality.
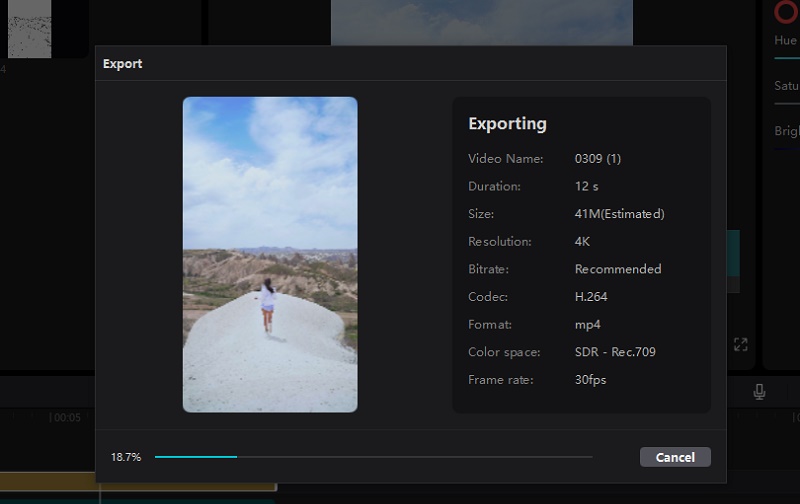
Step 5: Export the Final Video as 4K Quality
Click the "Export" button to save the final video in 4K quality.
1.3 How to Enhance Face on CapCut
Actually, this is a kind of face retouch feature that you can use to enhance the looks in an instant, mainly by adjusting the parameters like smooth, brighten, and white teeth, and applying the effects like facial beauty and makeup.
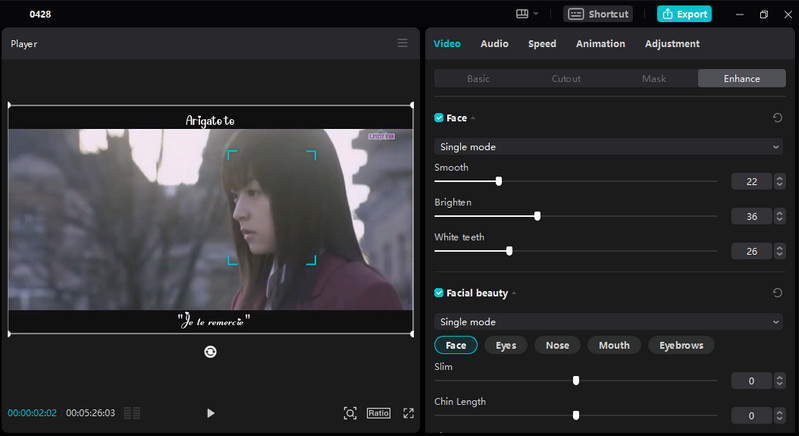
Step 1: Click to select a video clip on the timeline, then go to the "Video" section at the top right panel and select "Enhance" option.
Step 2: Turn on "Face". You can choose the single mode for one face in the current frame, and multiple mode for multiple faces.
Step 3: Then drag the sliders to adjust the parameters like smooth, brighten, and white teeth, and these adjustments will be applied to all faces recognized.
Step 4: If you like, you can continue to retouch faces by applying facial beauty and makeup effects.
1.4 How to Get Good Video Quality on CapCut by Stabilizing Video
The shaky footage also hurts overall video quality. The Stabilize tool on CapCut is designed to enhance the quality of shaky videos and achieve stability for visually appealing footage, especially for dynamic scenes.
Step 1: Click on "+ New Project" to create a new project. Select your video file and drag it to the timeline.
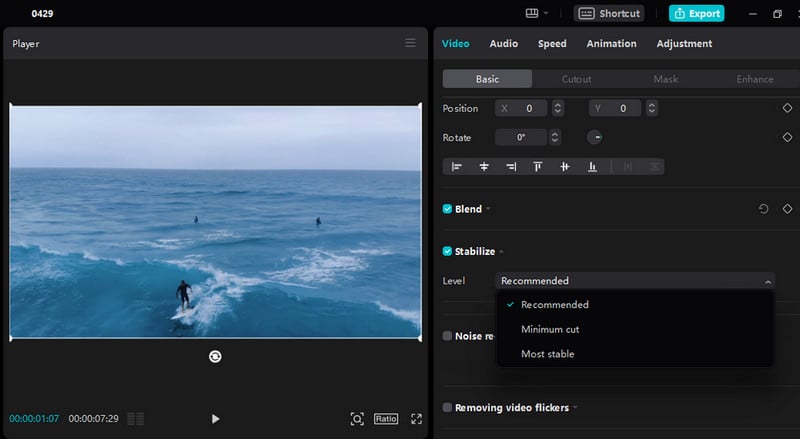
Step 2: Go to the "Basic" settings in the top right corner under the "Video" section. Scroll down to find the "Stabilize" option and activate it.
Step 3: Within the "Stabilize" option, you can choose the level that best suits your preferences. For optimal results, select "Most stable" to fix pronounced shakes.
Step 4: Play your video on the timeline to preview the stabilization results. If satisfied, export your video by clicking the "Export" button on the top right corner.
1.5 How to Get Good Video Quality on CapCut by Removing Flickering
Video flickering is another problem that can impact the visual video quality. It happens when shutter speeds are too high or too low and out of sync with the light source. To address this issue, you can utilize the video flicker removal feature on CapCut to effectively reduce the flickering from your video, ensuring smoother playback and enhanced visual quality.
Step 1: Navigate to the "Basic" settings in the top right corner under the "Video" section. Scroll down to find the "Removing video flickering" option and activate it.
Step 2: There are two models you can choose from: Flashlight and Time-laps. You can choose one according to the factors that mainly contribute to the flickering. Then choose the level according to the degree of the flickering.

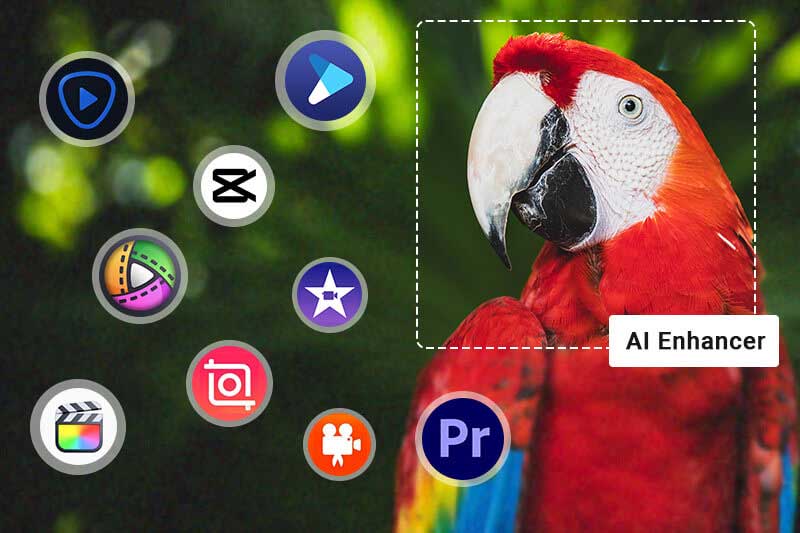
Part 2: Best Alternatives to CapCut to Help Users Get Good Video Quality with Ease
Although CapCut provides users with many options to enhance video quality, there are some limitations and inconveniences.
1. The Instant image enhancement tool is only available on CapCut Pro.
2. The operations are a little bit complicated if you want to get 4K video quality on CapCut.
3. The face enhancement feature is not intelligent enough, as it can not be automatically applied to all faces in the video with one click, and needs some further manual adjustments to get the better quality.
4. If the original video is of severely bad quality, you can't honestly expect CapCut to restore it to better quality. CapCut is best for the footage that is captured in poor light conditions.
5. Different factors can contribute to the bad quality, and the video footage varies, however, CapCut is not able to solve all quality issues.
In conclusion, if you want to enhance the quality of older videos in severely bad quality, you will need some dedicated video quality enhancers or video upscalers that are capable of addressing these quality issues more easily and professionally.
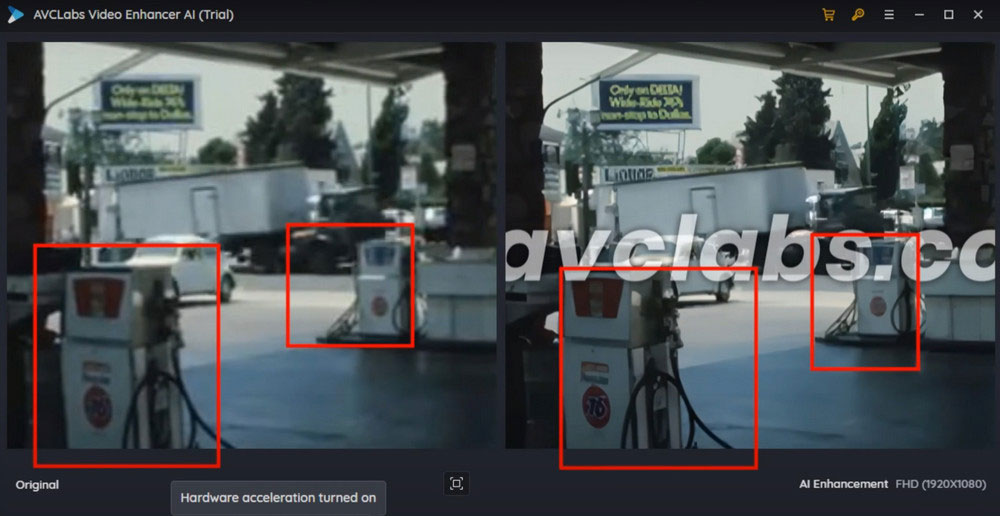
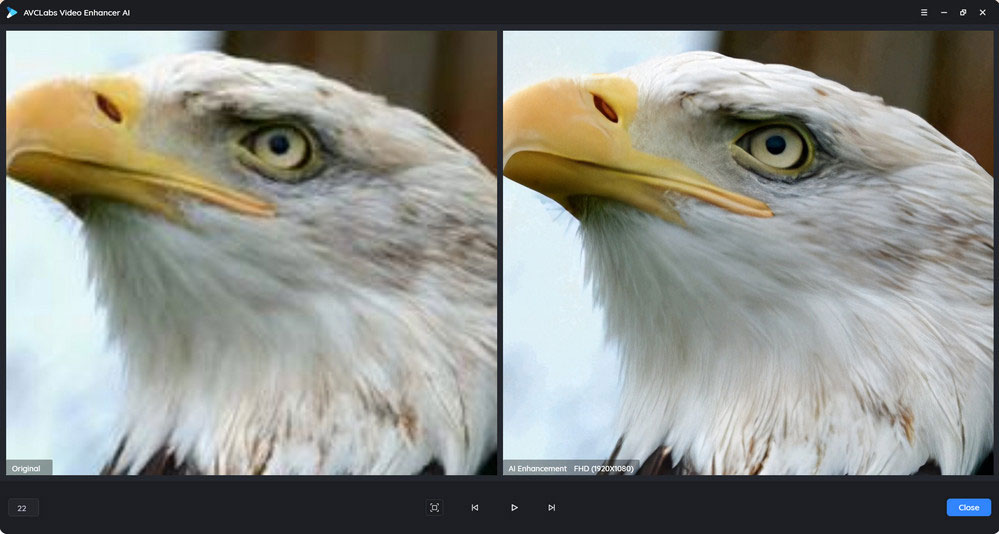
2.1 Get HD/4K Video Quality with AVCLabs Video Enhancer
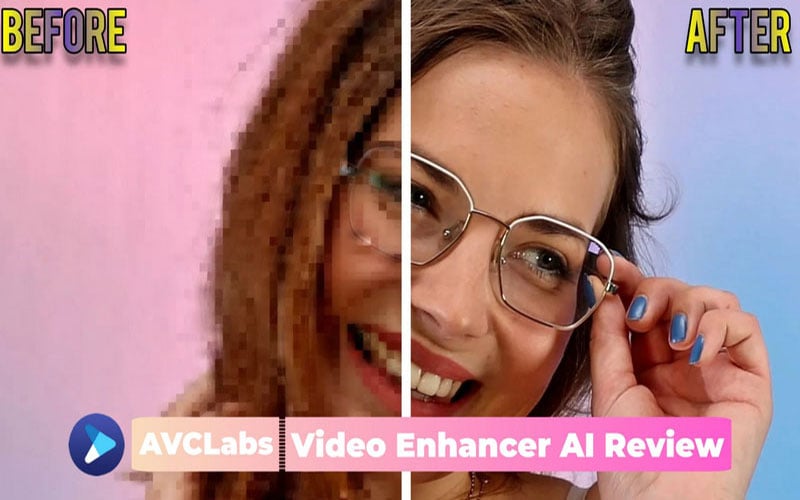
Turning your old SD videos into HD or 4K quality by AVCLabs Video Enhancer AI is much easier than CapCut, and the output quality is much better. It provides HD and 4K presets for users to get HD or 4K quality with one click, with no further manual adjustments, or fine-tuning.
AVCLabs Video Enhancer AI, a deep-learning-based software for video enhancement, upscaling, colorizing, and frame interpolation, has gained positive feedback from satisfied customers. Notably, its face recovery and enhancement feature has astounded users with its impressive results.
As different footage is under different quality issues, AVCLabs Video Enhancer provides different AI models for users.
Standard: Enhance video on a frame-by-frame basis at the fastest possible speed, thus ensuring smoother performances on low-end machines.
Ultra: Enhance video on a frame-by-frame basis, in Ultra quality. This is best for upscaling video from 1080P to 4K.
Standard (Multi-Frame): Enhance video on 7-13 frames at a time. This is best for decreasing blurring/ flickers in the video and maintaining consistency.

Ultra (Multi-Frame): Enhance video on 7-13 frames at a time, in Ultra quality. However, the processing time is slower than other models and has strict requirements for the machine.
Anime: It is dedicated to enhancing the anime/cartoon quality, with smoother and more natural lines, soft edges, and great details.

Denoise: Remove severe noise from the video and turn the blurry video into a clear and crisp look.

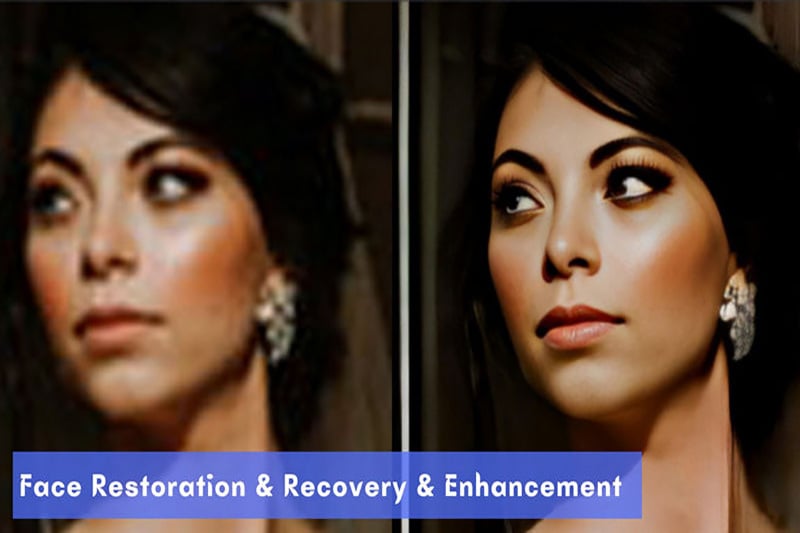
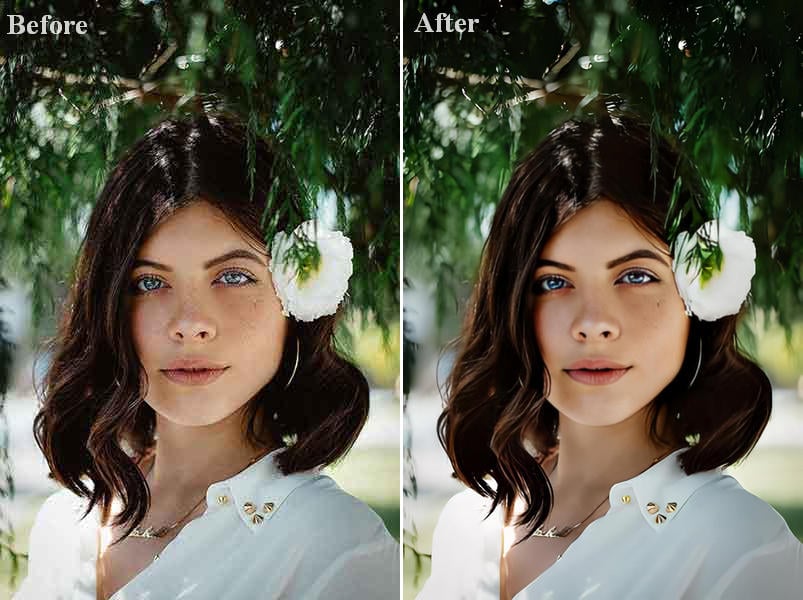
2.2 Restore and Enhance Face with AVCLabs Video Enhancer AI
The face enhancement feature in CapCut is more like facial retouching and facial beauty. In most instances, what you want is to make the blurry faces become clear, without too much retouching.
The face enhancement feature in AVCLabs Video Enhancer AI fully utilizes the AI facial detection and recognition model, to automatically recognize all faces in the video and apply the algorithms to restore the blurry, degraded, and pixelated faces and enhance the facial details without unnatural beauty effects. The only adjustable option is "Enhancement Level": under 50 can deliver more natural results, and higher than 50 can make the extremely blurry faces visible and clear.
Restore the extremely blurry face:

Restore degraded and pixelated face:

Retouch face and enhance facial details:
2.3 Stabilize Video with Topaz Video AI
CapCut presents creators with a versatile tool to transform shaky videos into refined, professional content, however, it is not very intelligent enough and can not handle all aspects of shaky problems. The stabilization model on Topaz Video AI is more professional to reduce shaky or jittery motion blur that often results from an unstable camera. It can predict the shaky points throughout the entire frame, not only an individual point. To involve most of the shaky issues, Topaz Video AI offers an Auto-Crop option, Full-Frame stabilization, and options for correcting the rolling shutter effect and reducing jittery motions.
Auto Crop: Crop the composition to remove the missing regions created after transforming the frames.
Full-Frame: Generate the missing region using neighboring frames and AI models.
Reduce Jitter Motions: Reduce the spatial jitters among the neighboring frames, minimizing 3D camera rotations and parallax effects.

Conclusion:
This article concluded all the ways you can do on CapCut to get good video quality, including upscaling video to HD or 4K quality, enhancing face, stabilizing video, and reducing flickering. As CapCut is not always the best one-stop solution to solve all quality issues on all types of video footage, we provided two more professional ways to help you get better video quality: they offer specialized models for different quality issues and different kinds of footage. If you find CapCut can not improve the quality of video that has undergone severe quality issues, do not hesitate to try AVCLabs Video Enhancer AI or Topaz Video AI, and you will be surprised by their output quality.