Best 6 Ways to Pixelate Video: Choose the Right Approach Safeguarding Privacy
"How would someone add a pixel effect in an image or video? -- Question on Quora"
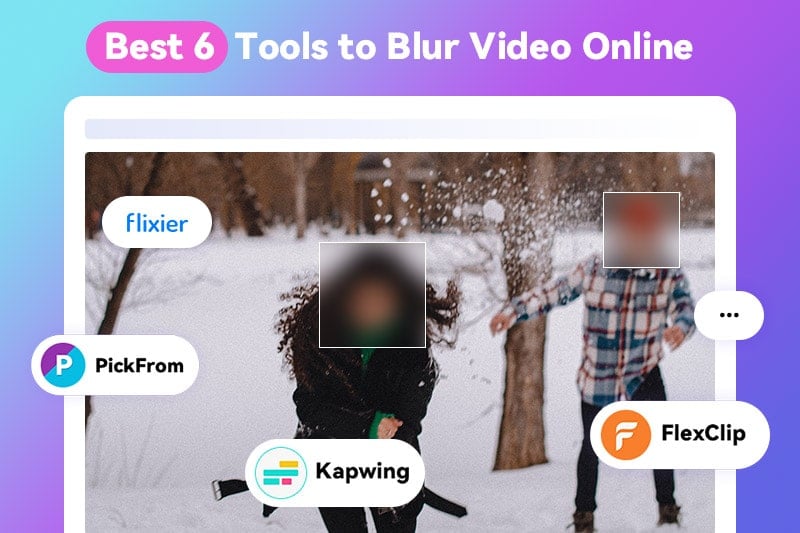
There are different reasons to pixelate or blur a part of a video such as some people may need to censor a video or make it unrecognizable. And most video editors will allow you to blur or add a mosaic effect to your videos. If you’re looking for the fastest, easiest solution, we explored and recommend the following methods.
Part 1: Pixelate a video online
If you have a static subject or object in your video and you don’t have any video editor on your PC or mobile phone, the most convenient solution to blur specific parts of the video is to utilize an online video editor, which requires no plugin or software download, except for some basic video editing experience.
1. YouTube
As the biggest stream video platform, YouTube provides a simple edit feature for videos. You can make use of the blur feature in YouTube's video editor to effortlessly blur sensitive information, such as someone's car plate, and address, or when you don't have permission to show someone's face. It's a simple yet effective way to safeguard privacy.
Steps to pixelate video by YouTube:
Step 1: Open YouTube Video Editor, select the video and click the "Edit" button.
Step 2: Apply the Blur effect.
Click the "Blur" option and YouTube offers you two options to blur a video:
Select from "Face Blur" or "Custom Blur" to blur faces or parts of a video on YouTube
* Face Blur: With Face Blur, YouTube will automatically detect the face in the video and offer you options to decide which face you wish to blur. Then YouTube will blur the identified moving face in the video.
* Custom Blur: By clicking "Custom Blur", you can choose from a rectangle or oval shape to blur a face or object in the video and check "Track Object" or "Fix Blur Position" to decide where to track a moving face, object or not.
Step 3: Click "Save" to publish the video.
2. Canvas
Canva isn't just a design tool; it also offers some fantastic video editing features, including the ability to pixelate or blur specific parts of a video. With Canva, you can blur videos in a matter of minutes. You don't need to be a skilled video editor because Canva's user-friendly interface makes it simple to create professional videos.
Follow the steps to blur video in Canva:
Step 1: Open Canva and select the video template.
Right on the home page, you’ll find the video template for video editing. Click on the template to get started.
Step 2: Select a blank video template.
There are several video templates available for different social media platforms. You can choose a template of your choice. Take the Mobile Video template as an example, the size of this template is 1080 x 1920 px.
Step 3: Add your video to the template by uploading it.
To add your own video to Canva, simply click on "Uploads". Once your video finishes uploading, you'll find it right there in your media library. Simply tap on the video and it will appear in the Canva work area.
Step 4: Select the blur or pixel effect from "Canva Elements"
Head over to the "Elements" tab in the main toolbox and give it a click! Next, search for the Blur effect. A whole range of blurry shapes with various orientations and colors will be displayed. Most of these effects are available for free on the free version of Canva. Select the effect you like and add it to the video.
Step 5: Reduce the timing of the pixel effect.
Click the pixel effect in the video’s timeline. Then click on the three little dots and choose the Show Timing option in the settings. You’ll get the timeline for the pixel effect. To reduce its scope, click the small arrow on the extreme left and drag it to the frame where the card appears. Repeat the same procedure for the right-hand side. Reduce the time frame of the pixel effect till the last frame where the card appears.
Step 6: Save the video.
After you’ve successfully pixelated the video in Canva, you can download the video by clicking on the Share button on the top right-hand side of the screen and then select the MP4 video file type to download and click the Download button.
Part 2: Pixelate a video on a computer
If you're a user who wants to blur a video on your desktop computer, there are some user-friendly video editing software options available to help you with this task.
1. Movavi Video Editor
Movavi empowers you to effortlessly blur faces and objects in your videos with just a few simple steps. Whether you want to blur people's faces or specific objects, Movavi Video Editor is here to assist you. You have the flexibility to blur the entire video or choose specific parts to blur according to your preferences.
Steps to blur video with Movavi Video Editor:
Step 1: Open your video
After downloading and installing the program, click "Add Files" to select the video file you wish to blur. The video will be added to the Media Bin. Drag and drop the file onto the Timeline at the bottom of the program window.
Step 2: Blur an entire video
To blur a video in the editor, first click the Filters tab and open the Blur category. You will see a collection of different blur filters. To add your preferred blur effect, simply drag its icon onto the video on the Timeline.
To apply a basic video blur effect, choose Blur – mild or Blur – intense depending on the amount of blur you want to add. Experiment with different shapes and choose the ones that work best for your video.
If you want to make your video more dynamic, try the Motion blur. This filter will intensify the sensation of rapid movement in your footage. You can add multiple filters to one video clip.
Step 3: Blur a part of the video
If you want to blur only a specific portion of your footage, select the target video clip on the Timeline and click the More Tools tab. Choose "Highlight and Conceal."
Select the appropriate effect and adjust the orange frame in the preview window to cover the object you wish to blur (e.g., a person's face). Click "Mask Properties" to fine-tune the settings. You can also modify the tracking mode in the Motion tab.
Step 4: Export the result.
Once you've completed applying the blurs, click the "Export" button. Choose your desired video format and quality, then hit "Start" to export the final result.
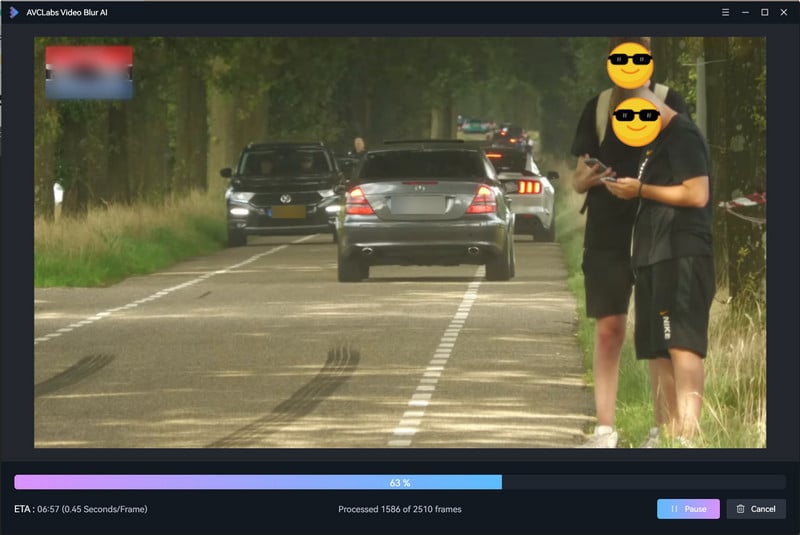
2. AVCLabs Video Blur AI
Different from other video editors, AVCLabs Video Blur AI does not require an edition manually. It can automatically pixelate or blur objects or moving faces in a video. Leveraging the power of AI, AVCLabs Video Blur AI offers not only face pixelating but also three additional options for video blurring: object blurring, background blurring, and foreground blurring. It effectively blurs various elements in videos, such as people's faces, logos, license plates, credit card numbers, background, and foreground. The process is highly automated, significantly reducing the need for extensive human involvement. In just a few simple steps, you can achieve the desired blurring effect without the hassle of manual editing. The following guide takes "How to Blur License Plates" as an example.
Key Features of AVCLabs Video Blur AI
- Automatically detect and track license plate in videos
- Blur the detected faces selectively for single face or multiple faces in a video
- Blur or pixelate any parts you want to keep private in a video
- Automated blur solutions for face, back/foreground, object and license plates
Steps to Blur License Plates with AVCLabs Video Blur AI:
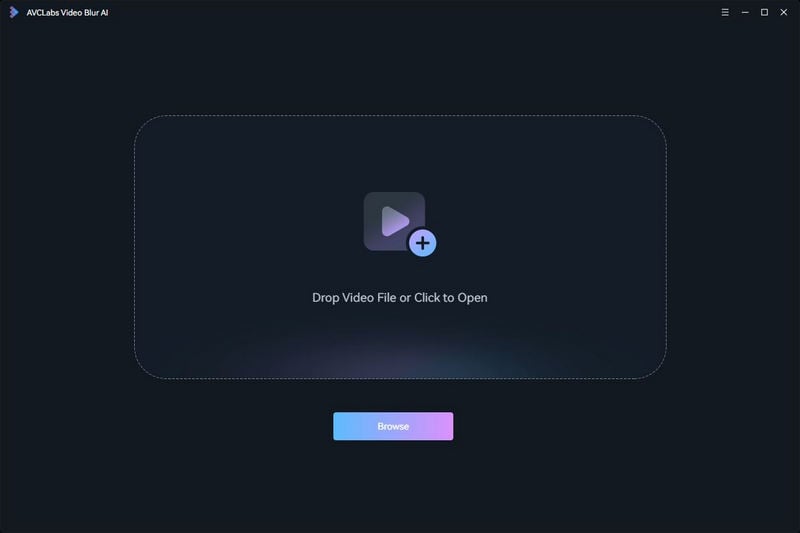
Step 1: Install and import a video to AVCLabs Video Blur AI
Download and install AVCLabs Video Blur AI to your computer. Double-click to launch it and proceed to import your video either by clicking the "Browse" button or simply dragging and dropping the video file.
Step 2: Add license plate blur task.
At the top of the interface, there are four types of blur options. Select the blur type according to your needs. To blur car plates you should click "License Plate Blur", then it will be automatically added to the taskbar below. For one single video, you can apply multiple blur options simultaneously.
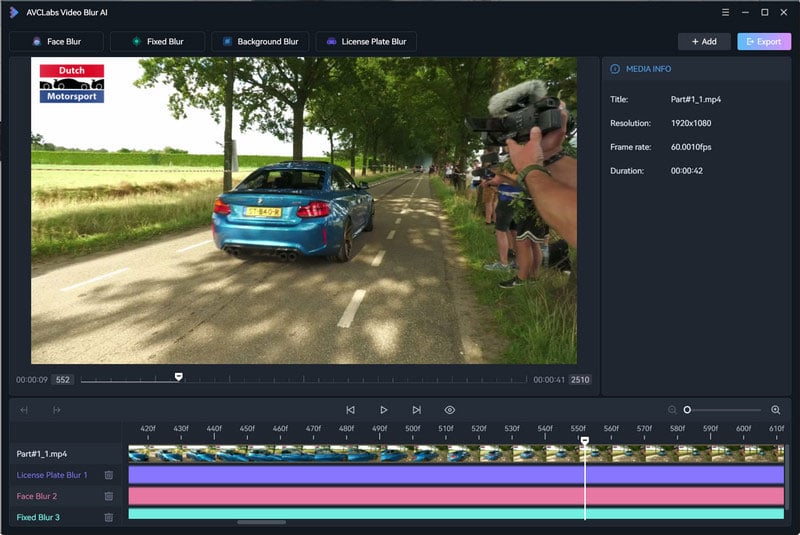
Step 3: Edit blur task.
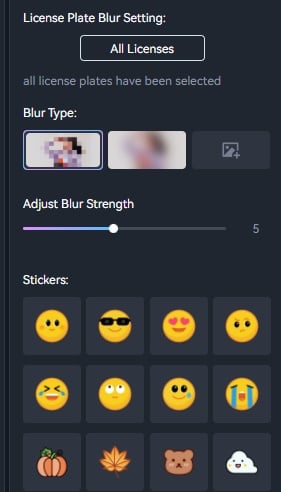
* Edit blur settings
This program blurs all license plates in the video by default. What users need to change are the blur type (Mosaics, Gaussian blur, customized images, and preset stickers) and blur strength.
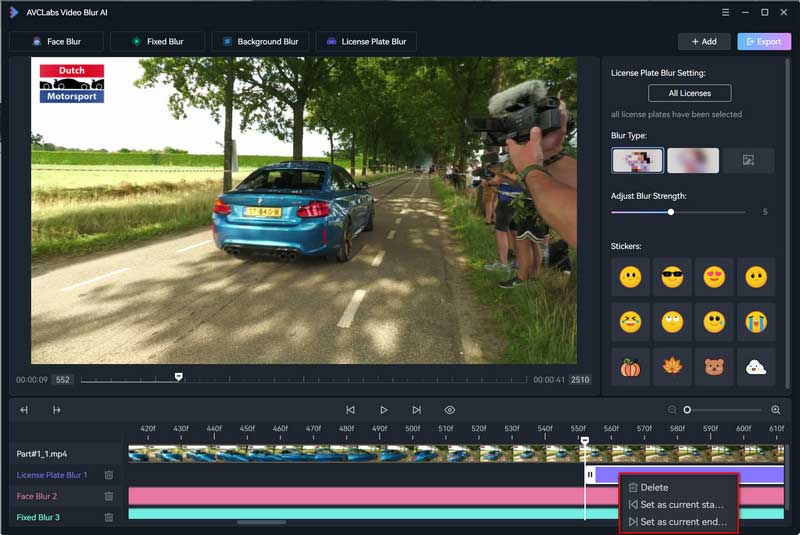
* Edit blur task
Right-click the timeline panel at the bottom to edit this task. You can delete the current blurring task, set specific start and end frames for the video segment you wish to blur, or directly adjust the task duration by dragging the taskbar slider.
Step 4: Preview and export blurred video.
Once you've completed all the necessary settings, click the "Eye" button to preview the effect. You can always go back to make adjustments if needed. When you're satisfied with the result, click the "Export" button to generate the final blurred video.
Part 3: Pixelate a Video on iPhone/Android
If you've recorded a video on your mobile phone and need to pixelate or blur certain privacy information or any other sensitive content that you wish to conceal, you can make use of the following apps.
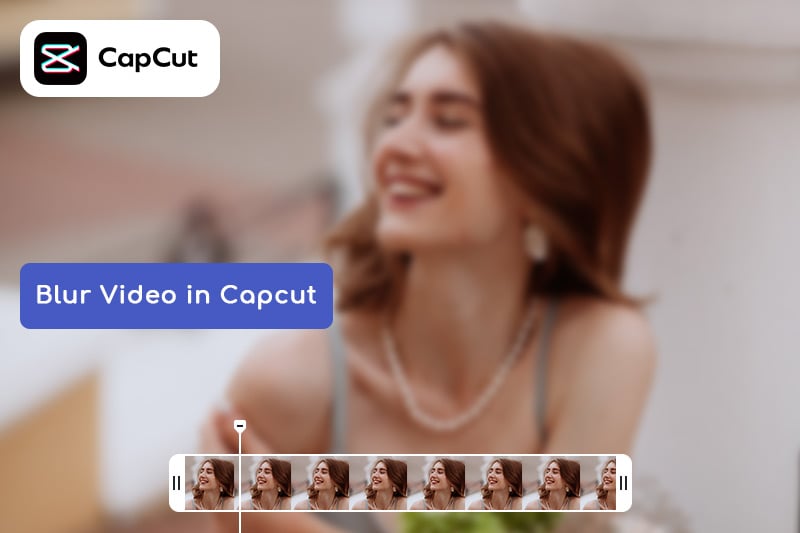
1. CapCut
CapCut, a free and powerful mobile app available to iPhone and Android users, allows you to add various effects to your videos, including blur or pixelation. You can conveniently apply these effects to hide specific areas within your video, safeguarding privacy or concealing sensitive information.
How to apply the CapCut to pixelate videos:
Step 1: Open CapCut and create a new project. Import your desired video to the timeline.
Step 2: Select the video you want to duplicate, then tap on "Copy." This duplicated video will serve as an overlay over the original video, providing the blur effect.
Step 3: Tap on "Overlay" and position the duplicated video overlay precisely over the original video.
Step 4: Now, let's create the blur effect overlay. Navigate to "Effects," then "Video Effects," followed by "Basic." Choose a Blur Effect that suits your preference. Confirm your selection by tapping the checkmark. Drag the blur overlay to align it with the video.
Step 5: Apply the blur effect to the duplicated video overlay. Tap on the blurred overlay, select "Object," and choose "Overlay." This application of the blur effect will create a blurred version of the video overlay onto the original video.
Step 6: To selectively blur a specific face or object, go back to the main editing menu. Tap on the video overlay track, then select "Mask." Choose a circular shape that will serve as the blur effect. Position the blur over the desired face or object. You can adjust the size and opacity of the blur effect by pinching.
Step 7: Since faces or objects may move in the video, you need to use keyframes to track their movement. Tap on the blurred video overlay, then tap on the keyframe icon to create the first keyframe. Move the timeline to the desired point in the video. Tap on the mask tool and adjust the position and size of the blur overlay. The second keyframe will be automatically added. Repeat these steps, adding keyframes throughout the video to track the moving face or object.
2. Alpha Project
Blur Video by Alpha Project is a simple Android app designed to blur videos in popular formats such as MP4, 3GP, and WMV. It is suitable for Android users who want to blur individual areas of their videos. Once you've applied the blur effect, you can conveniently upload your videos directly to platforms like Instagram. But you only get to blur the first five videos for free without a watermark. After that, the app will add a watermark unless you pay to remove it.
Here's a step-by-step guide on how to use Blur Video by Alpha Project:
Step 1: Download Blur Video on your Android device from the app store.
Step 2: Launch the app and choose the video you wish to blur from your device's gallery.
Step 3: Explore the FreeStyle Blur feature, which allows you to blur specific sections or objects within your video. Simply select the area you want to blur and adjust the blur intensity to your preference.
Step 4: For a creative approach, give the Fun Blur feature a try. This feature enables you to select a shape within your video and blur everything either inside or outside of that shape, adding an artistic touch to your footage.
By following these steps, you'll be able to effectively apply blurring effects to your videos using Blur Video by Alpha Project.
Conclusion:
So, those are the six best ways to pixelate a video or parts of a video through tools on computers, on iPhones, Androids, or online. I hope you found this tutorial helpful and that you can choose the most suitable method for your needs.