Photoshop Tutorial: How to Use The Blur Tool in Photoshop?
Adobe Photoshop is a powerful and versatile image editing software that offers a variety of tools and effects to enhance your photos. The blur tool is one of the tools available in Photoshop that allows you to paint a blur effect on specific areas of an image. You can use the blur tool to soften edges, create depth of field, or hide some details in an image. In this article, we'll show you how to use the blur tool in Photoshop and provide a step-by-step guide, as well as some other blur effects and video blur tool.
- Part 1: What is Blur Tool in Photoshop?
- Part 2: How to Use The Blur Tool in Photoshop?
- Part 3: Other 3 Popular Types of Blur Effect in Photoshop
- Part 4: How to Use Blur Effect in Photoshop?
- Part 5: Automatically Image Blur Tool - AVCLabs PhotoPro AI
- Part 6: Blurring in Photoshop vs. AI: Which One Should You Choose?
2. Blur Background in Photoshop
Part 1: What is Blur Tool in Photoshop?
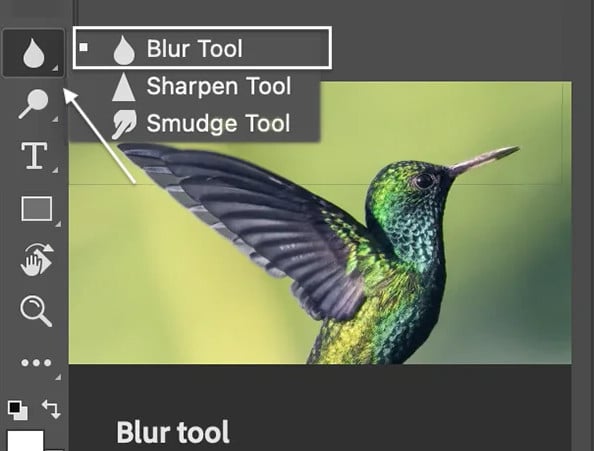
The blur tool in Photoshop is represented by an icon resembling a raindrop and is situated in the default tool panel on the left side of the main interface. Right-clicking on the icon reveals options such as the smudge tool, sharpen tool, and blur tool. Blur tool empowers users to selectively blur portions of an image, whether it's specific areas or the foreground and background, allowing for the emphasis of particular objects. Beyond its primary function, the tool serves as a valuable asset for image retouching, adeptly smoothing skin imperfections and refining edges to achieve a seamlessly natural look.
Part 2: How to Use The Blur Tool in Photoshop?
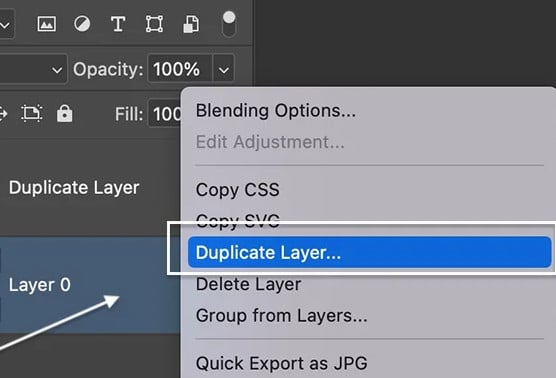
Step 1: Create a Duplicate Copy
Open your image in Photoshop. Right-clicking on the layer and selecting Duplicate Layer to make a copy. Working with duplicate layers ensures that you can always return to the original file, avoiding errors that cannot be changed.
Step 2: Select the Blur Tool
Select the blur tool (raindrop icon) in the toolbar. Then you'll see the smudge tool, sharpen tool, and blur tool. Just select blur tool.
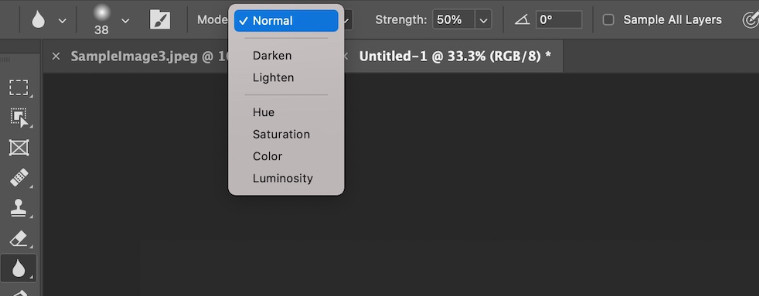
Step 3: Adjust Blur Options
Blur options can be adjusted in the options bar that appears at the top of the workspace. Here you can adjust the brush size, tip angle, and mode. In addition, there are a variety of available blending modes including normal, darken, lighten, hue, saturation, color and luminosity that you can choose from.
Step 4: Apply Blur to Image
Drag the Blur tool over the specific image area you wish to blur. Alternatively, you can apply the blur effect repeatedly in that region to enhance the prominence of the focused area.
Part 3: Other 3 Popular Types of Blur Effect in Photoshop
The blur tool is ideal for selectively blurring specific areas within an image. However, if you seek to apply more extensive blur effects across the entire image, Photoshop offers a variety of blur filters. In this part, we will introduce the 3 blur effects in Photoshop to give you a clearer idea of the applicable scenarios for each blur filter.
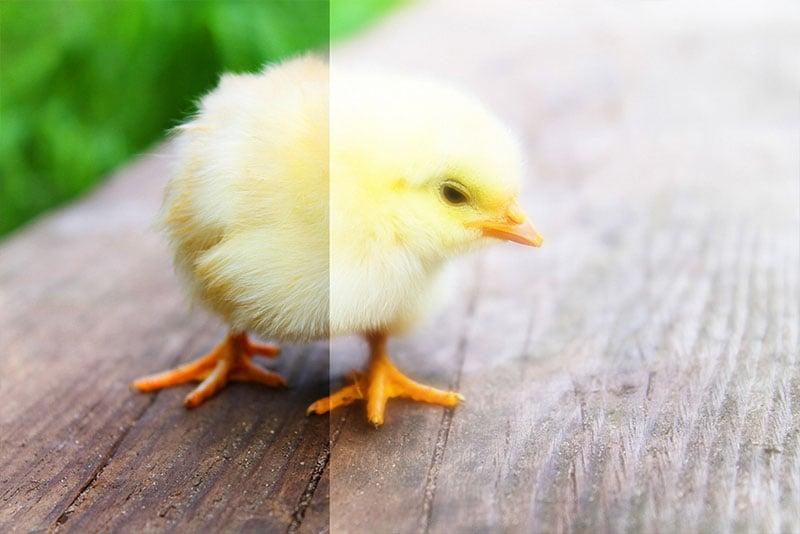
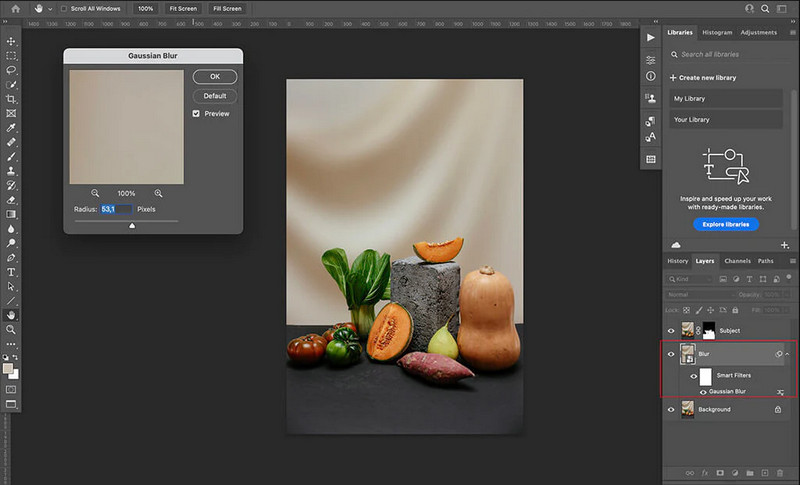
1. Gaussian Blur
Gaussian blur employs a curve that systematically blurs elements away from each focal point in a bell-shaped distribution. This results in a heightened blur intensity near the center, gradually extending outward in a bell-shaped fashion. Its versatile applications include noise reduction and detail minimization in images. Primarily utilized for refining images and enhancing facial aesthetics, the Gaussian blur effectively smoothens intricate details and imperfections in portraits.
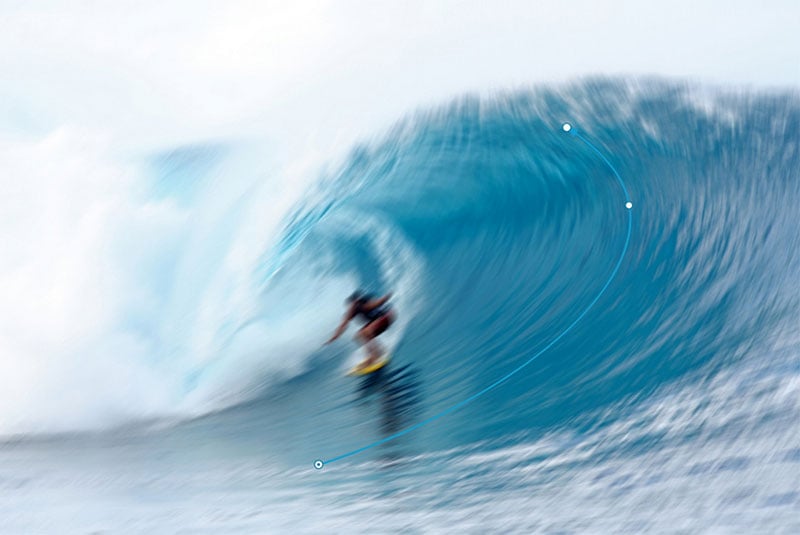
2. Motion Blur
Motion blur is a photographic or graphical effect that occurs when there is relative motion between the camera or the viewer and the subject being photographed or displayed. This effect results in the blurring of the subject, conveying a sense of movement or speed. Motion blur in Photoshop is often used to add a dynamic and realistic element to a static image. It can be used to create the illusion of movement of objects or subjects in an image, helping to create a sense of action or speed.
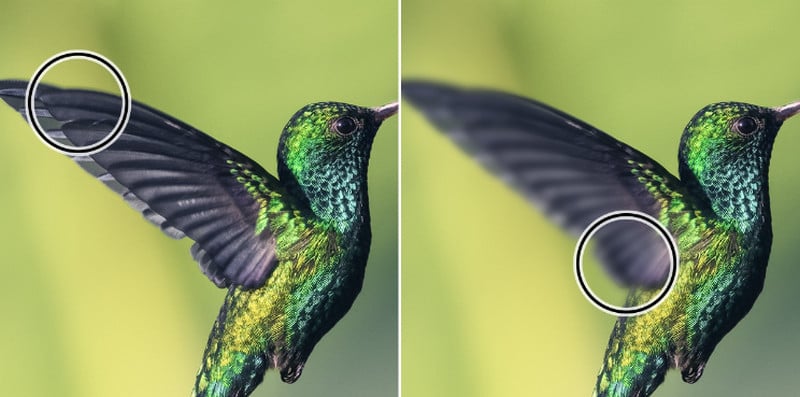
3. Lens Blur
Lens Blur in Photoshop is a complex filter that simulates the way a camera lens blurs out-of-focus areas in a photo, creating a depth-of-field effect. This filter is particularly useful for enhancing the realism and visual appeal of your images by mimicking the optical properties of different lenses. The Lens Blur filter makes pictures look more professional by blurring the foreground and background while keeping the subject in focus.
Part 4: How to Use Blur Effect in Photoshop?
In the preceding section, we discussed three commonly employed blur effects in Photoshop, each with its suitable application scenarios. Now, let's explore the methods for utilizing these blur effects in Photoshop.
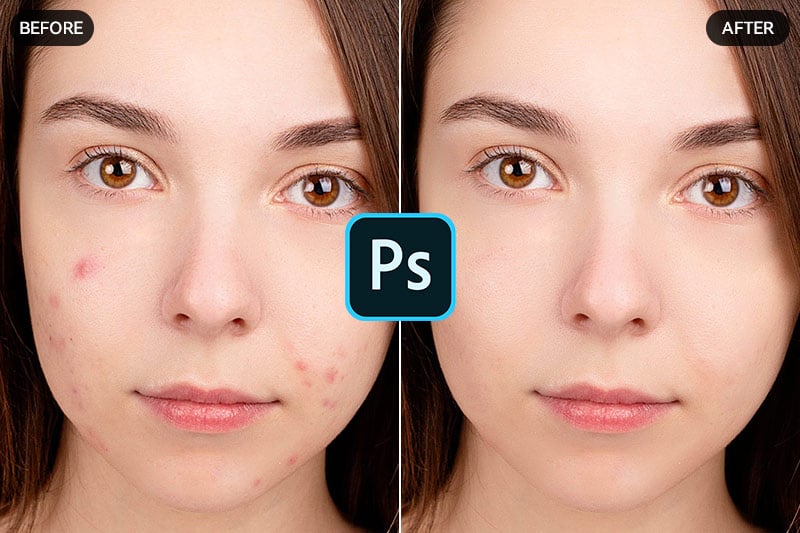
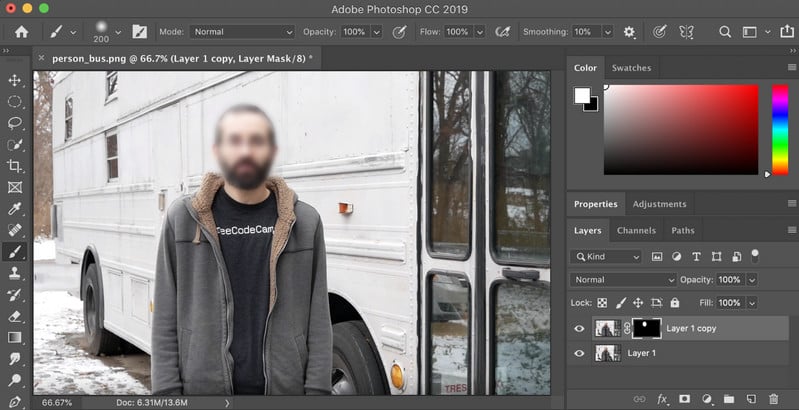
1. Blur Face in Photoshop
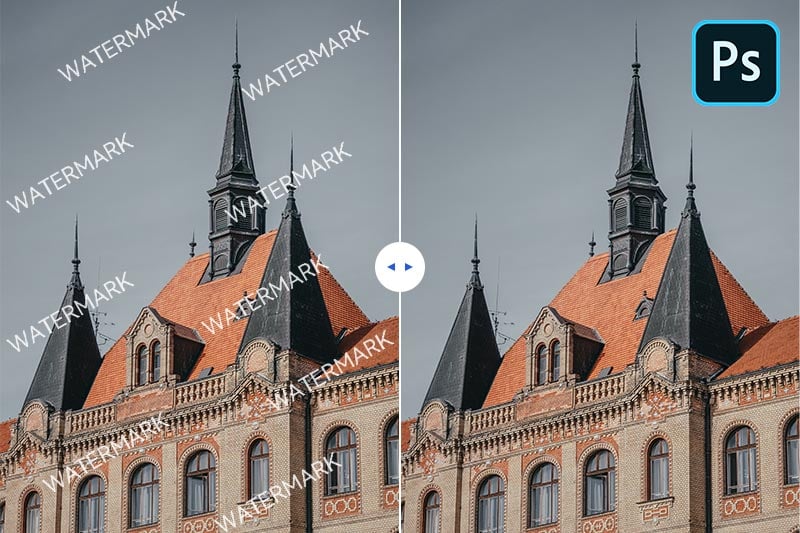
2. Blur Background in Photoshop
Part 5: Automatically Image Blur Tool - AVCLabs PhotoPro AI
While the blur tool in Photoshop is fantastic for still images, blurring can be a tedious and time-consuming process for manual editing. If you're looking for a faster and more efficient way to blur images, you might want to consider using a dedicated photo editing software with AI-powered blur tools.
AVCLabs PhotoPro AI is a photo editing software that uses AI technology to enhance and edit your photos. One of the features of AVCLabs PhotoPro AI is the ability to blur images with selection tools. You can use this feature to blur out unwanted or sensitive parts of your photos, such as faces, logos, or text. You can also use this feature to create artistic effects, such as depth of field or bokeh.
Key Features of AVCLabs PhotoPro AI
- Automatically Blur faces,background,objects with AI
- Advanced AI algorithms for automatic background detection and removal
- Colorize B&W photos to make it come to life again
- Increase image resolution by 2x, 3x, 4x without losing quality
- Automatically optimizes photo quality and clarity using AI algorithms
How to Use AVCLabs PhotoPro AI to Blur Face in Photo?
Step 1: Download and Install
Download and install AVCLabs PhotoPro AI on your computer.
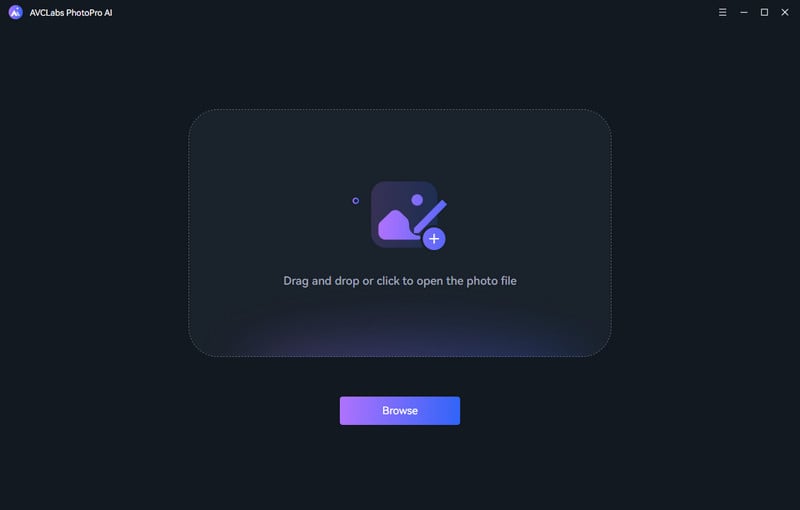
Step 2: Import the Image to the Program
Click the "Browse" button to upload the image or drag and drop the file into the program directly. It supports a variety of file formats, including PNG, JPG, JPEG, BMP, RAW, etc.
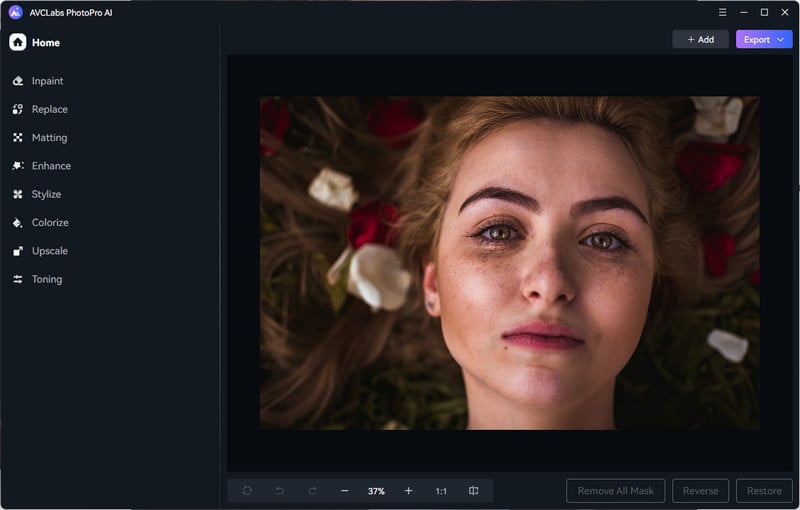
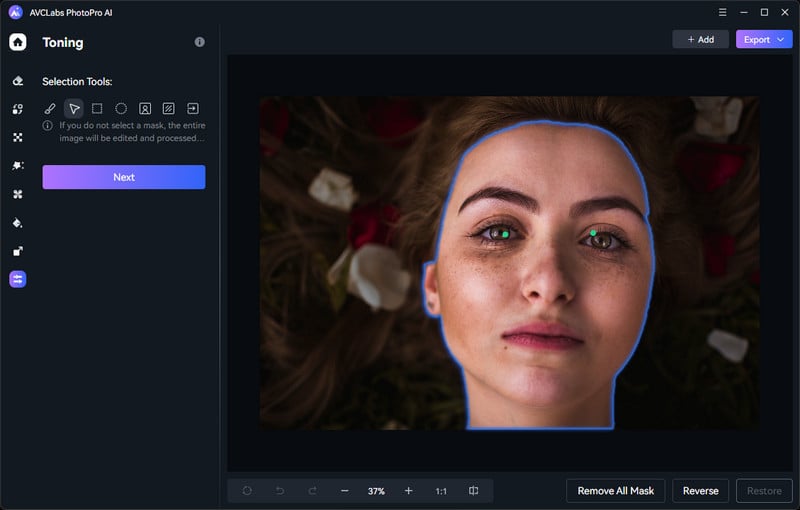
Step 3: Use the Selection Tool
To blur the selected face, just turn to the top menu bar of the interface. Here we select the "Toning" model. Choose one of the selection tools from the left of the interface, such as brush, object, rectangle, or circle. For blur face in photo, we suggest Object Selection Tool. It will automatically identifies the contour of a human face and creates a blue frame around it.
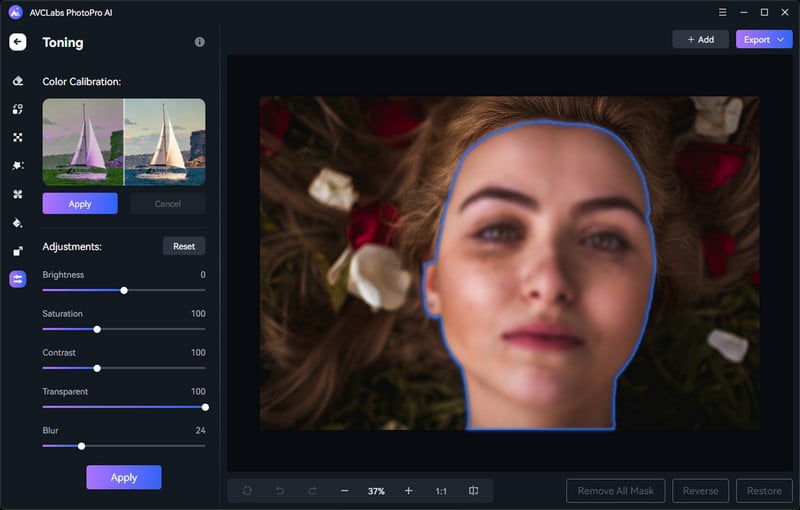
Step 4: Apply Blur to Image
Click on "Apply" and the options for Blur will appear. Here you can drag the progress bar to adjust the blur intensity arbitrarily.
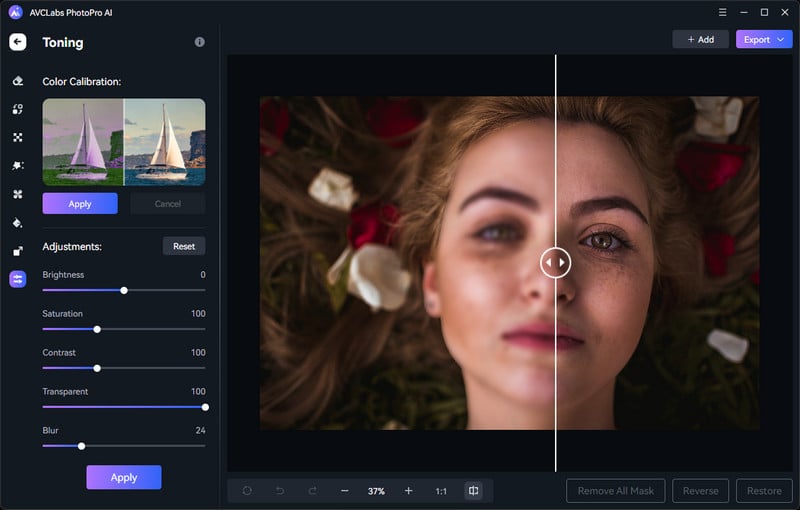
Step 5: Preview the Result and Save the Blur Photo
If the result can meet your need, click the "Export" button to save the new photo to your computer.
Part 6: Blurring in Photoshop vs. AI: Which One Should You Choose?
Both AI and Photoshop offer powerful tools for blurring images, but each has its own strengths and weaknesses. Let's dive into a comparison to help you choose the best method for your needs.
1. Blurring Efficiency
AI blur: Wins in terms of speed and ease of use. Simply upload your image, choose the object, select the blur type and intensity. Instant blur with minimal effort. This is great for quick edits or beginners.
Photoshop blur: Requires more manual selection and control over the blur parameters. While it offers more fine-tuning options, it takes longer to achieve the desired effect. This method suits experienced users who value precise control.
2. Blur Quality
AI blur: Can sometimes produce inconsistent or unnatural-looking blurs, especially with complex details or textures. However, advancements in AI are constantly improving blur quality, and some tools offer impressive results.
Photoshop blur: Provides more control over the blur, leading to generally more natural and precise results. You can fine-tune the blur intensity, radius, and shape to achieve a specific look.
3. Creative Flexibility
AI blur: Offers a limited range of blur types and customization options. While some tools have basic settings like blur strength and style, they lack the in-depth control of Photoshop.
Photoshop blur: Provides a vast array of blur filters and tools, like Gaussian blur, Lens blur, Radial blur, and more. You can create artistic effects, simulate depth of field, or selectively blur specific areas for creative composition.
In a Nutshell
AI blur: Beginner-friendly. Requires minimal technical knowledge and offers intuitive interfaces. It's a great starting point for quick edits or anyone unfamiliar with image editing software.
Photoshop blur: Has a steeper learning curve. Requires understanding blur types, filter settings, and selection tools. This method suits users comfortable with image editing software and seeking precise control.
Conclusion:
Mastering the Blur tool in Photoshop unlocks creative possibilities! This handy tool lets you selectively soften edges, emphasize focus, or hide details. Adjust brush size, strength, and mode for diverse effects like subtle smoothing, dramatic blurs, or background defocus. Beyond the Blur tool, Photoshop boasts various blur filters like Gaussian for overall softening, Motion for action-inspired blurs, and Lens for realistic depth-of-field effects. When it comes to faster editing, opting for an AI-driven solution like AVCLabs PhotoPro AI can be beneficial, as it provides fully automatic photo blur, streamlining the process and saving you both time and effort.