How to Remove Blur from Images with AI
"Can I remove blur from an image?"
Sometimes we may take some blurry photos which can be very annoying. You may not have a second chance to take the same photo again. So removing blur from these images is the best choice now. The advent of AI-based tools has revolutionized the process of deblurring images. These tools use advanced algorithms to analyze the image, identify the type and extent of blur, and then apply the appropriate corrections. This article will share with you an easy method to remove blur from images via AVCLabs PhotoPro AI and some tips to avoid blurry photos.
Part 1: Understanding Image Blur
Blur in images is a common issue that can transform a potentially great photo into an underwhelming one. Image blur typically occurs due to camera shake, incorrect focus settings, or subject movement, etc during the shot.
Regardless of the cause, the result is a photo that lacks sharpness and detail, diminishing its overall quality.
Part 2: How to Remove Blur from Images with AVCLabs PhotoPro AI
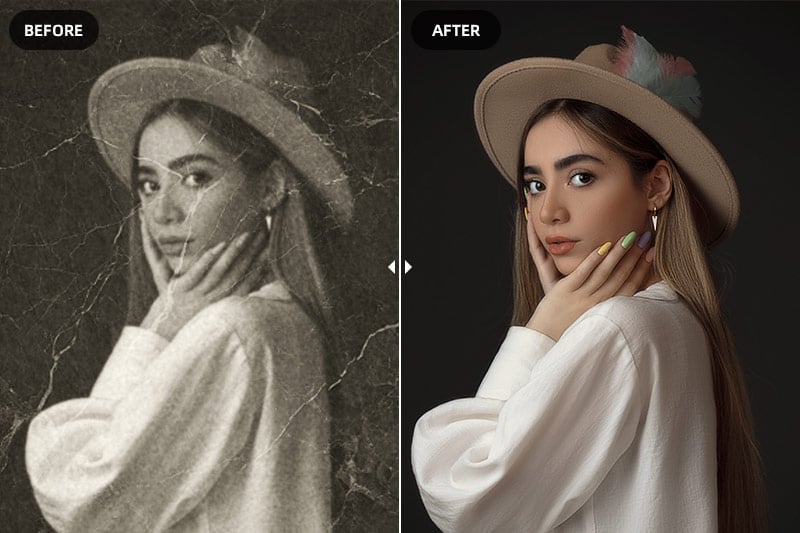
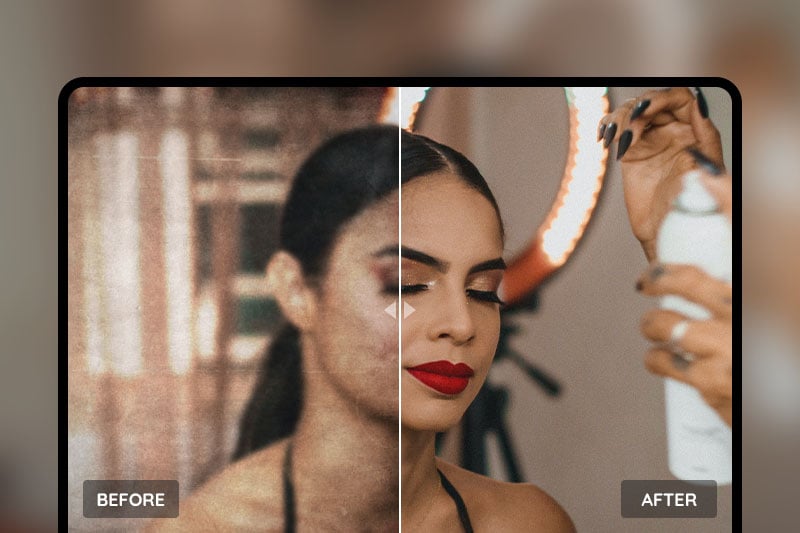
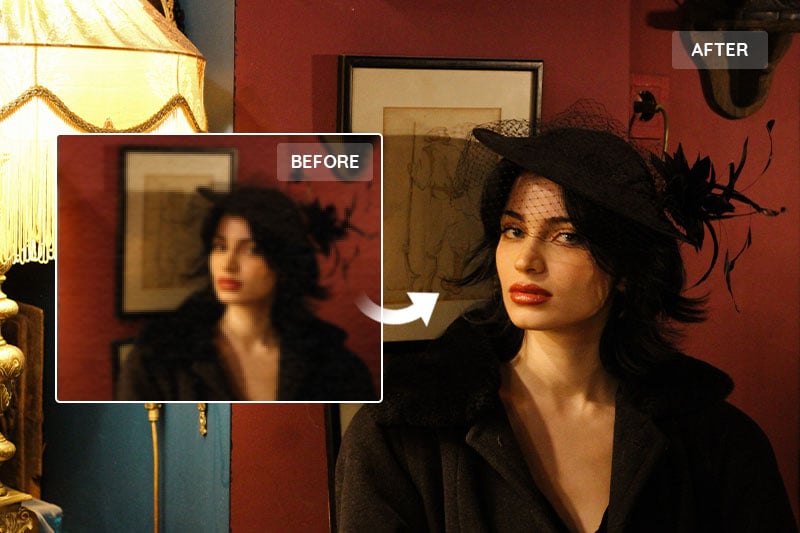
To remove blur from an image, you need an easy-to-use and powerful tool AVCLabs PhotoPro AI to help do it. It’s a program using AI image sharpening algorithms to deblur images intelligently and automatically. Besides fixing blurry images, AVCLabs PhotoPro AI can also upscale images without losing quality, restore old photos, and improve photo quality.
Key Features of AVCLabs PhotoPro AI
- Clear up blurry photos with advanced technology
- Cutout image to make the background transparent
- Remove unwanted objects, people, watermarks
- Change the style of image to create unique look
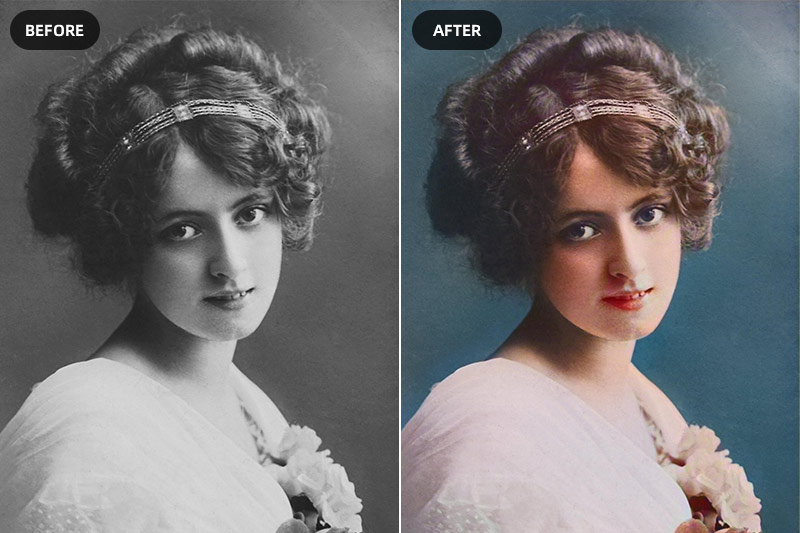
- Colorize B&W photos to make it come to life again
- Upscale photos up to 3x, 4x without losing quality
Steps to Remove Blur from Images with AVCLabs PhotoPro AI
Step 1: Download and Install AVCLabs PhotoPro AI
Firstly, you need to get this AI image sharpening tool on your computer. Please note that AVCLabs Photo Enhancer AI can run properly in CPU mode, but the processing speed is a bit slower than the machines with graphics cards installed.
Step 2: Import the Blurry Image
After installing, you will see the main interface of the program as the picture shown below.
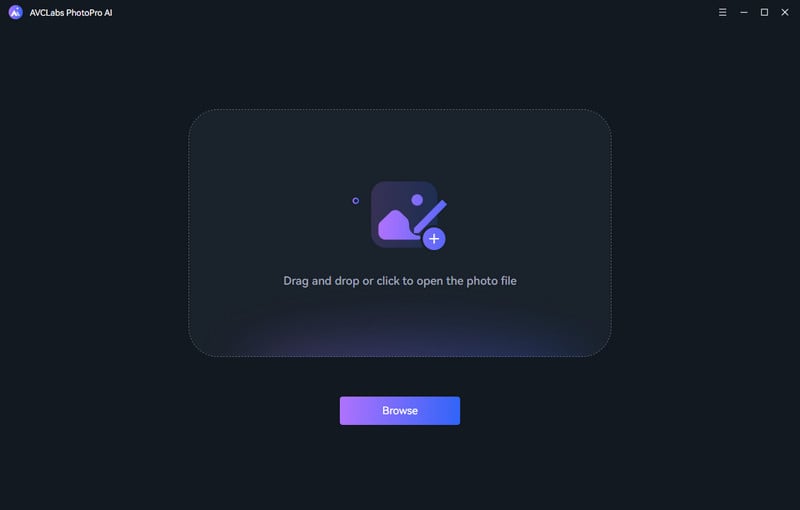
Then you can click the Browse button to import the image files in batch or drag and drop the source file to the program directly.
Currently supported formats: PNG, JPG, JPEG, BMP, RAW, etc.
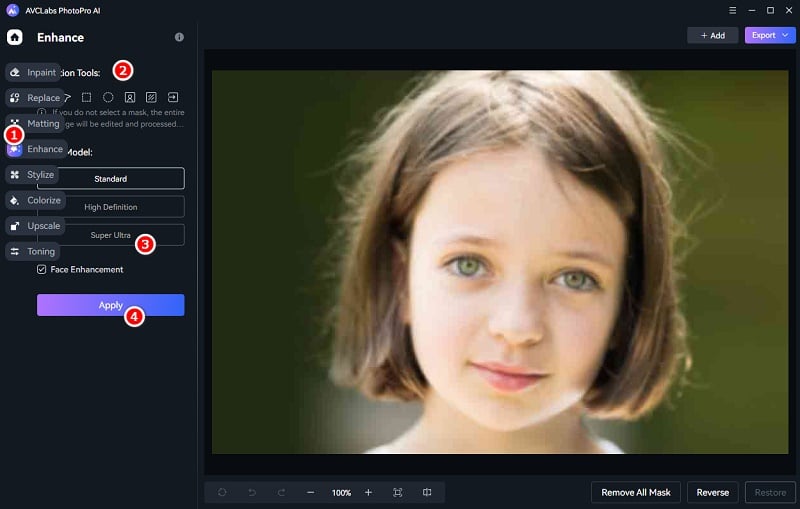
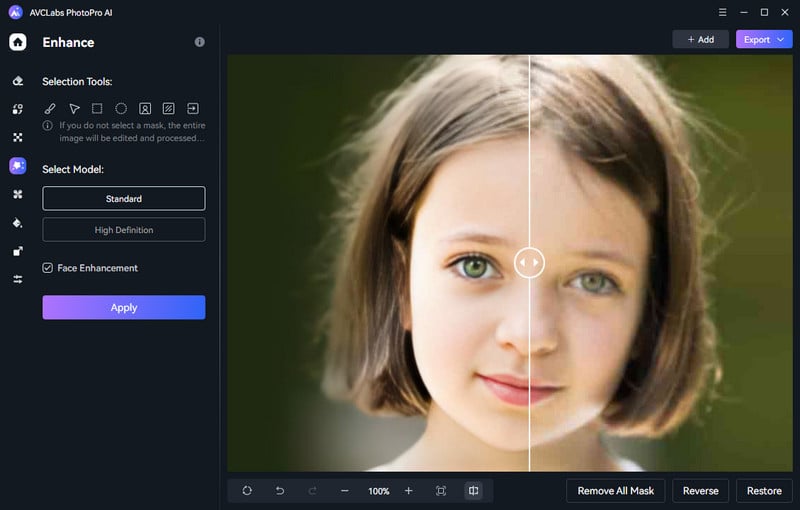
Step 3: Apply the Enhance AI Model to Remove Blur from the Image
After the image is added you need to set some parameters. To remove blur, we need to choose Enhance AI on the top of the interface which can improve the photo's quality and fix the blurry problem together. Then select the enhance model according to your need. The default Standard model will enhance images with balanced improvements, and the High Definition model will enhance images with more pronounced improvements, but takes longer time to process. For portrait photos, you can check Face Refinement to detect and recover details from blurry photos.
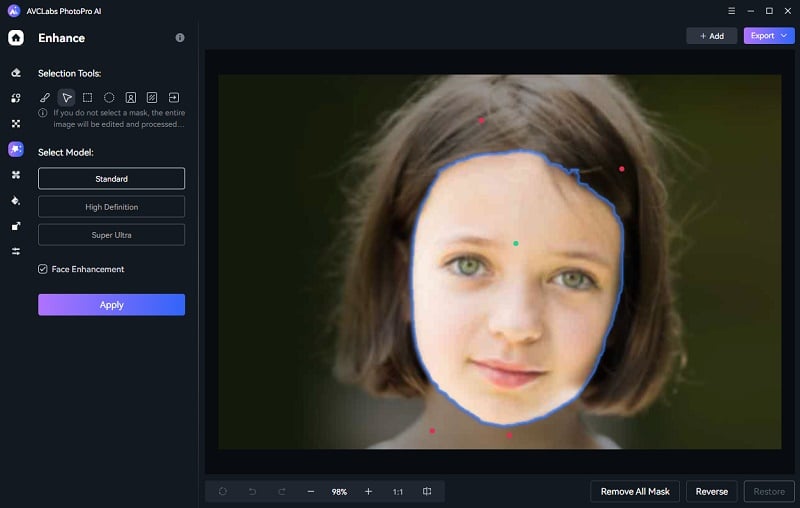
Moreover, if you just want to remove a partial blurry part from an image, then you can make a selection first. Select a suitable section tool to cover the edited part, then apply to Enhance AI.
Step 4: Save the Unblurred Image
When the process completes, you can click the Contrast button to preview the effect. Finally, you can save it to local disk.
Part 3: How to Avoid Blurry Photos
Here are 5 tips on how to avoid blurry photos.
1. Hold the camera steady.
A firm grip is needed when taking photos because camera shakes will result in the blurry photo. Try to hold the camera or phone as steady as possible to avoid the shake even when you tap the shutter release button.
2. Avoid taking photos of fast-moving subjects.
If the camera’s shutter speed is slow, especially the phone camera, then the camera can’t freeze the subject’s movement and the photo will be blurry.
3. Avoid taking photos in low light.
When in low light like at night, the camera will switch to night mode which means it will automatically slow the shutter speed to get more light. As a result, low shutter speed leads again to blurry photos.
4. Keep your lens clear.
Mist, greasy smears, and other dirt in front of your lens can affect your photos’ quality directly and cause the blurry photos. So keep your lens clear when you take photos. You can clear it with lens cleaning paper.
5. Focus on the right place.
Make sure you focus on the right place of the photo. Most cameras’ focus point is at the center, so put the subject at the center of the picture or change the focus point manually to the right area.
Conclusion
All in all, understanding and addressing blur in digital images can be a bit tricky but it doesn’t have to be as difficult as it might initially seem. By having a basic understanding of the types of blur common to digital images, using the right photo editing tools like AVCLabs PhotoPro AI can help you remove blur from your pictures and get them back to their original crispness. Moreover, with some simple techniques that proper lighting and composition, there are several ways to avoid blurry photos even before they arise so you can skip taking extra steps to fix up your shots. With these tips in mind, we hope you’ll be better equipped to take sharper photos for any photography adventure or project you pursue!
Hope this article can help you avoid taking blurry photos. If you already have taken some blurry photos, then you can use AVCLabs PhotoPro AI to deblur these images easily and efficiently. Then why not try it for free!